Car Vacuum Lost Suction? 7 Fixes to Try Before You Toss It
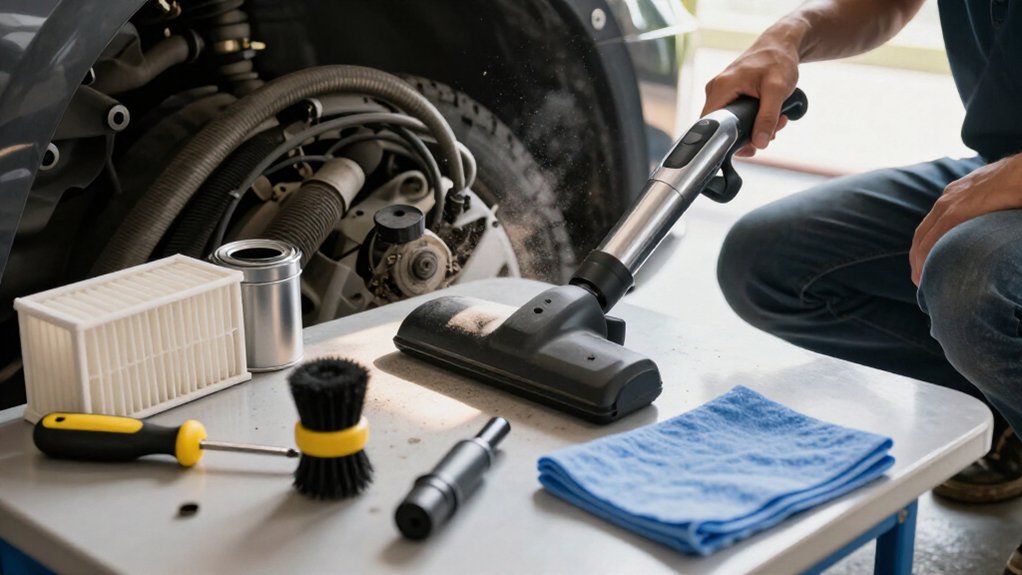
If your car vacuum loses suction, unplug it or remove its battery, detach the hose, and test the motor port.
Strong pull indicates a downstream blockage, so clear floor mats, hose bends, wand, nozzle, and canister.
Park in shade, cool the unit, empty the bin, and inspect filters.
Dry them completely if damp.
Check the 12-volt socket, plug, fuse, switch, and battery seating.
Confirm debris pickup improves, then use checks below to isolate faults.
Motor-Intake Suction Test
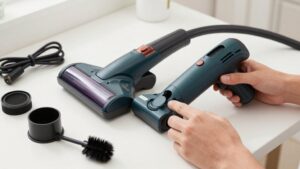
Before testing, unplug the car vacuum or remove its battery. Detach the hose or wand from the vacuum body, exposing the motor-intake port. Restore power, then place your hand over the port to evaluate airflow. Keep fingers clear of moving parts, and don’t operate longer than necessary.
Strong suction at the body port indicates the motor and intake path work. The restriction lies downstream, so inspect the hose, wand, and nozzle for clogs or leaks. Push lodged debris through with a blunt tool, such as a broom-handle end; don’t use sharp objects.
Weak or absent port suction points to an internal fault: a saturated filter or leaking dust-container seal. Clean, reseat, or replace those components, then repeat the port test before reconnecting attachments.
Remove Floor Mats First
Start by removing each floor mat with the vehicle parked level, the engine off, and the parking brake engaged. Check the owner’s manual for hooks, buttons, or clips, then release each retainer without pulling the anchor. Wear gloves; glass, stones, and metal fragments may hide underneath.
Use a flashlight to inspect the carpet, seams, and seat edges. Remove objects by hand before vacuuming, because they can block a nozzle or hose and distort suction diagnosis.
Mats can trap dirt and transfer it onto carpet.
- Lift soiled mats slowly to contain debris.
- Sweep or vacuum mats separately, using a crevice tool where needed.
- Reseat mats securely after cleaning; a loose mat can interfere with pedal operation.
Clear the cabin floor first, then retest the vacuum.
Step 1: Park in Shade
Park the car in the shade or a cool garage before diagnosing suction loss. Heat can soften plastic hoses and gaskets, allowing them to expand and mask small air leaks. A cool vacuum makes leaks easier to locate.
If the vacuum has been running, let it and its battery cool for 10–15 minutes. Overheating can temporarily reduce motor performance and alter airflow through filters.
Use a flashlight to inspect hose bends, wand passages, and the floor-head neck for compacted debris. Keep the dustbin below full capacity while you work; a nearly full canister restricts airflow even when the motor sounds normal. Don’t rinse a hot washable filter. After cooling, rinse it with cool water and air-dry 24 hours before reinstalling to protect the motor.
Step 2: Check the Cigarette-Lighter Socket
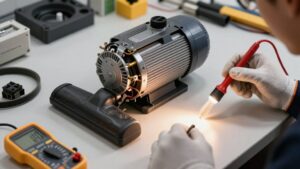
Could the 12-volt socket be limiting motor power rather than the vacuum having an airflow problem? A weak electrical supply can reduce motor speed and airflow even when the vacuum runs. Test the socket with a known-working 12-volt plug or meter; confirm the vehicle supplies approximately 12 volts. If output is absent, check the vehicle’s fuse and try another socket if available.
Make sure you’ve fully seated the vacuum’s lighter plug. A loose or bent contact can cause intermittent current and fluctuating suction. Inspect the cord and plug for cuts, looseness, or heat discoloration, especially near the connector.
Don’t use a cracked or burnt socket: high resistance can overheat the plug and further restrict power. Stop testing if you smell burning, see arcing, or notice excessive heat.
Step 3: Inspect the Vacuum Filter
If the motor runs but suction remains weak, inspect the vacuum’s filter before investigating deeper airflow problems. Unplug the unit or remove its battery, then open the filter compartment. Check each filter for packed dust, discoloration, or blockage. A restricted pre-motor, HEPA-style, or exhaust filter can choke airflow even when the motor sounds normal.
Tap dust from a non-washable filter and replace it if debris remains embedded. Don’t wash a HEPA-style filter unless the manual specifically approves it. For any washable filter, follow the manufacturer’s cleaning and drying instructions.
Reinstall every filter completely, and confirm the compartment door and latch seat firmly; a poor seal can create another airflow loss. Retest suction after emptying the dustbin. If performance doesn’t improve, the problem lies elsewhere.
Step 4: Rinse Foam Pre-Filter
Once you’ve turned off the car vacuum, remove the dust container to access the foam pre-filter safely. Rinse it under cool or lukewarm water until the runoff runs clear. This removes fine dust that restricts pores and chokes airflow. Don’t use soap unless the manufacturer specifically permits it; residue can coat the foam and reduce suction.
Gently squeeze out excess water, but don’t twist or wring the filter. Aggressive twisting can tear foam, compromising filtration and allowing unwanted airflow paths. Place it in a clean, ventilated area and let it air-dry fully for at least 24 hours. Reinstall it only when completely dry; residual moisture can promote mold and restrict airflow. Then secure the dust container and retest suction directly at the intake afterward.
Step 5: Inspect the Hose Seal
With the car vacuum unplugged, detach the hose and inspect the main-inlet grommet for cracks, flattening, or debris. Any deformation can prevent an airtight connection and reduce suction. Check hose ends where they seat into the inlet, wand, or nozzle. Look for looseness, missing O-rings, and warped plastic.
Examine the hose, especially near bends, for split lines. Gently press along its seam while testing the vacuum; if suction changes at one spot, you’ve found a leak.
Re-seat the hose firmly, then confirm its latch or clip locks. If available, cover the main inlet with your hand after reconnecting it. Strong suction that returns after improving the fit confirms a sealing fault. Replace damaged grommets, O-rings, or hoses rather than relying on a temporary patch.
Step 6: Empty Canister, Stow Attachments
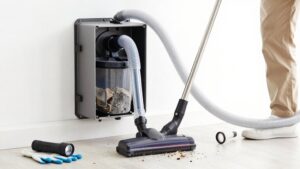
Start by emptying the canister, especially on cordless models where the maximum fill line may sit only one-third of the way up. Then tap out loose debris and wipe the canister inlet with a dry cloth.
Dust here can restrict airflow after you remove the collected material. If your vacuum uses a bag, replace it when it’s more than two-thirds full; airflow can decline before the bag looks visibly stuffed.
Reinstall the canister securely, ensuring the latch engages and gasket sits evenly. A crooked container or pinched seal can admit air and mimic a blockage. After storage, stow the hose, nozzle, wand, and brush attachments without tight bends. Inspect each piece for damage, then seat every attachment fully; keep mating surfaces dry and grit-free.
Confirm Debris Pickup Improves
Test the repaired vacuum on the same small area of carpet or mat where suction failed. Compare before-and-after performance: the nozzle should lift stuck grit and sand, not merely stir it. After emptying the bin or replacing the bag, feel for stronger airflow and check seams and floor-mat grooves for removed debris.
If you cleared a hose or wand clog, scatter dry crumbs and confirm they enter the airflow, not remain there. Reinstall washable filters only after they’ve air-dried for at least 24 hours; improved pickup indicates less restriction. If airflow feels strong but pickup remains poor, inspect the floor tool, nozzle opening, and brush or roller for hair or lint tangles. Weak agitation can limit cleaning even when suction is restored.
Fuse and Switch Checks
If the vacuum shows no motor response or only weak airflow, check its power path before chasing clogs. With engine off, inspect the plug and charging lead for damage; confirm outlet or charger supplies power. A dead supply can mimic suction failure. Check a user-accessible fuse, if fitted, and replace it only with the identical rating printed on it, such as 5A or 10A. Never oversize.
| Check | Result |
|---|---|
| Supply | Dead supply means silence. |
| Fuse | Correct rating protects. |
| Switch | Half-on action signals wear. |
| Battery | Loose seating cuts power. |
Fully engage the switch; power lights without airflow suggest a circuit fault. Charge batteries and lock packs firmly. Run a two-minute suction check at the port again. No pull confirms electrical trouble; strong pull directs airflow checks.
Avoid Vacuuming Wet Debris
Once the power path checks out, keep moisture out of a dry car vacuum. Water can saturate filters and the dust container, increasing airflow resistance. The motor may sound normal while pickup drops sharply.
Wet spills, mud, or condensation can also form clumps in the hose, wand, or nozzle neck, creating a blockage that mimics motor failure.
If moisture enters, unplug the vacuum or remove its battery. Empty the bin immediately, then inspect every airflow passage. Remove washable filters and let them air-dry completely, at least 24 hours when applicable, before reinstalling them. Don’t run the vacuum with damp components; moisture can reach the motor or fan and cause internal damage. Unless your model is rated for liquids, pick up wet debris by hand first.
Conclusion
When your car vacuum loses suction, diagnose airflow before replacing it. Remove mats, work in the shade, verify the 12-volt socket, and inspect the fuse and switch.
Empty the canister, clear attachments, and clean or replace the filter as its manufacturer directs. Test the motor-intake seal again, then confirm debris pickup improves. If suction remains weak, don’t vacuum wet material or force the motor; repair or replace the unit. Persistent loss warrants prompt professional diagnosis.