Handheld Vacuum Won’t Turn On? 8 Troubleshooting Steps Before a Replacement
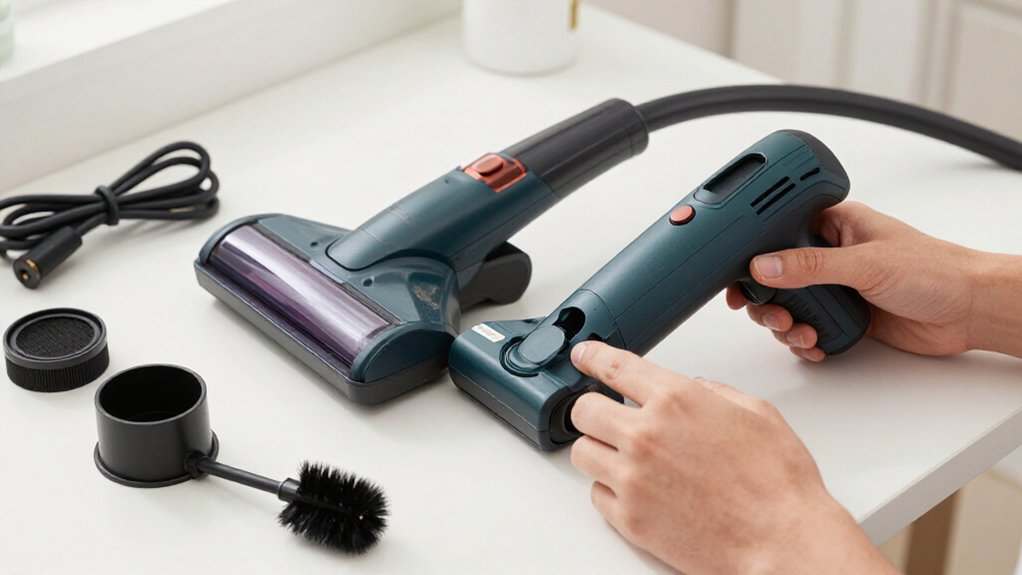
If your handheld vacuum won’t turn on, check these steps:
1) Unplug it and clean dry charging contacts; confirm the dock pins move freely.
2) Use a Phillips or Torx driver if access is needed.
3) Place the unit on a dry towel.
4) Remove and empty the dust cup.
5) Hold Power for 10 seconds.
6) Reinstall the cup until it clicks.
7) Test normal motor startup.
8) Inspect the filter, dry it completely, and replace it if clogged.
Details follow.
Inspect Charging Contacts
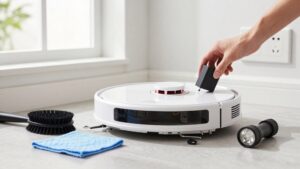
If the vacuum won’t power on, first confirm that it’s seated correctly in its dock so the charging pins make full contact. Unplug the charger before inspecting the connection. Clean the vacuum’s contact pads and dock contacts with a dry cloth. For oxidation or oily residue, use a cotton swab lightly moistened with isopropyl alcohol, then let the surfaces dry completely.
Check for carpet fibers, dust, or debris around the contact area. Inspect dock pins for bending, misalignment, or recession; the pins should move freely and spring back. Confirm the handheld’s pads aren’t missing or damaged. Reseat the vacuum, ensuring it latches as designed.
Start a charging cycle lasting at least two hours, or follow the manual. Verify indicator illuminates or changes state.
Gather a Phillips Screwdriver
Before opening the vacuum, unplug it and remove the battery pack if it’s removable. Select a Phillips screwdriver that fits each screw head; a mismatched tip can slip, strip plastic, or damage the screw. Check your model’s service guide, because some housings use Torx screws instead.
Keep PH0, PH1, and PH2 drivers or a precision set available. A magnetic tip helps you retrieve small screws, while an insulated handle adds protection near wiring and battery contacts.
- A correct tip protects fragile screw heads.
- A stubby driver reaches recessed fasteners.
- A manual driver reduces stripping risk in plastic.
- A small container keeps hardware together.
After removing screws, note their locations and lengths for accurate reassembly. Don’t force a stuck fastener; stop and verify the bit.
Step 1: Place Unit on Towel
Set the handheld vacuum on a clean, dry towel over a flat surface, with its charging port or contacts fully exposed. This setup keeps the unit stable while you inspect a no-power condition and prevents it from tipping away from charger contacts. Confirm the port and contacts are completely dry. If you see dust or residue, wipe the area gently with a clean, dry cloth; don’t introduce liquid or force debris into the opening.
Leave the vacuum on the towel for several minutes before pressing the power button again. That pause lets heat from recent use dissipate. If it remains unresponsive, repeat the check on a dry towel. Make sure water droplets or damp areas don’t touch. Stop if you notice scorching or swelling.
Step 2: Remove the Dust Cup
With the vacuum unplugged, locate the dust-cup release latch and press or slide it to detach the cup from the main body.
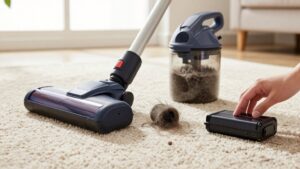
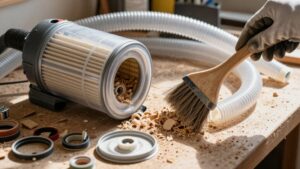
Empty the cup completely into a trash bin, then shake out fine dust so particles don’t remain in the airflow path. Inspect the rim and sealing area for dust, cracks, or a displaced seal. A poor seal can reduce suction and may prevent normal operation on models with a dust-cup interlock.
If the cup contains an inlet screen or filter, remove loose debris and clean it according to the manufacturer’s instructions. Don’t reinstall a wet filter. Align the cup with its guides and push firmly until it clicks into place. Confirm the latch holds the cup securely before testing the vacuum again.
Step 3: Long-Press Power Button 10S
If the vacuum remains unresponsive, repeat the 10-second long-press once after confirming the battery has adequate charge or the unit is connected to power. Observe and document any LED pattern, beep, or unusual odor. If repeated resets produce no response, stop cycling the button.
The fault may involve the switch, battery connection, thermal protection, or internal electronics, requiring model-specific diagnostics or professional service.
Step 4: Connect a Known-Good Charger
After the reset attempt, remove the vacuum from its dock and connect a known-good charger firmly, ensuring the contacts are fully seated and stable. Use a charger with the same voltage and current rating as the original; an incompatible unit may fail to charge or damage the battery. Verify the replacement charger works by testing it in a confirmed live outlet, then watch the vacuum’s charging light or app status after 10–15 minutes.
No change doesn’t prove the battery has failed, so leave the vacuum connected for up to an hour and check again for a light pattern or status update. If charging begins with the known-good charger but not the original, replace the original charger or cable with an OEM or specification-equivalent part.
Step 5: Cool Battery 30 Minutes
Let the vacuum cool for about 30 minutes before testing it again, especially if it stopped suddenly during use or felt unusually hot. Place it on a nonflammable, ventilated surface, remove it from its charger, and leave it untouched during the cooldown. Don’t press the power button repeatedly; repeated attempts can keep the protection circuitry active or add electrical load.
After 30 minutes, press the power switch once. If the motor starts, monitor for renewed heat, unusual odor, or another sudden shutdown, then stop using it if any appears.
If it remains unresponsive, cooling hasn’t fixed the fault. The battery may have over-temperature protection engaged or may be failing. Proceed to charging and charging-contact checks using the specified charger and its indicator LEDs.
Step 6: Reinstall Dust Cup
A mis-seated or clogged dust cup can trigger the vacuum’s safety interlock and prevent the motor from starting. Remove and empty the cup if full. Clear compacted debris from the cup and inlet. Inspect the inlet and seal or gasket for cracks, distortion, dust, or debris that could prevent a tight fit.
Wipe these surfaces with a dry cloth; don’t use liquid near electrical contacts.
Align the cup’s guide rails with slots, then push it into position until you hear or feel a click. Gently pull the cup and tilt the vacuum to verify that the latch holds. If still unresponsive, remove the battery or unplug it; wait two minutes, then reinstall the cup to restore latch contact.
Confirm Motor Starts Normally
With the filter and intake installed, run the vacuum briefly and confirm that the motor produces steady airflow, normal sound, and consistent vibration.
A healthy motor should start promptly, without hesitation, grinding, pulsing, or unusual odor. Press the power control and observe whether the fan reaches a stable speed rather than surging or stopping. If it won’t start, confirm the cordless battery has a full charge, then repeat the test.
A brief hum without rotation suggests a jammed impeller or motor fault; switch the unit off immediately. If it starts but cuts out after several minutes, let it cool completely before testing again. Repeated shutdowns indicate overheating protection or a persistent mechanical problem, not normal operation. Record symptoms.
Check Filter for Clogs
Before testing the motor again, remove the dust container and filter, then inspect the filter for packed dust, fine debris, or damp clogs. These can restrict airflow, overload the motor, and trigger thermal protection, so your vacuum can’t start. Check seams and edges for bypass gaps where dust has caked into the media. If the filter is washable, rinse it with cool water only: never soap, and let it dry completely, typically 24 hours, before reinstalling. Thick carpets, hair, and red Persian carpet-type fibers can saturate mesh or foam quickly.
| Sign | Response | Diagnostic meaning |
|---|---|---|
| Packed dust | Clean, dry, reinstall | Motor strain |
| Damp filter | Dry 24 hours | Startup blocked |
| Improved airflow | Continue diagnosis | Relief |
Test suction with the filter installed; improved airflow confirms the filter caused the restriction.
Replace Filter Every Six Months
If cleaning the filter restores airflow only briefly, replace it about every six months, or sooner if suction drops or the vacuum runs for less time. A partially clogged filter can restrict airflow, so the motor may overheat and shut down even when the battery and switch work normally.
For a washable filter, rinse it with cool water only, then let it air-dry completely for 24 hours. Reinstalling it damp can cause odors or damage. Choose the manufacturer’s specified filter size and part number; an incorrect fit can create leaks or further restrict airflow. Keep a spare filter available, so you’ll swap it during troubleshooting and determine whether filtration is causing the shutdown. This quick comparison helps you separate airflow faults from other electrical failures.
Conclusion
Before you replace your handheld vacuum, run this quick diagnostic sequence. Check the charging contacts, use a Phillips screwdriver only if needed, and work on a towel. Remove and reinstall the dust cup, then hold the power button for 10 seconds.
If the motor still won’t start, inspect the filter for clogs and confirm proper seating. Replace the filter every six months. If charging and airflow remain normal but the unit stays dead, replace it.