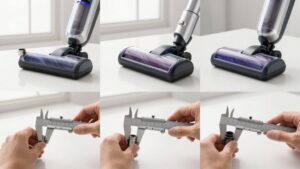
Cordless Vacuum Battery Compatibility Guide: Match the Right Pack Every Time
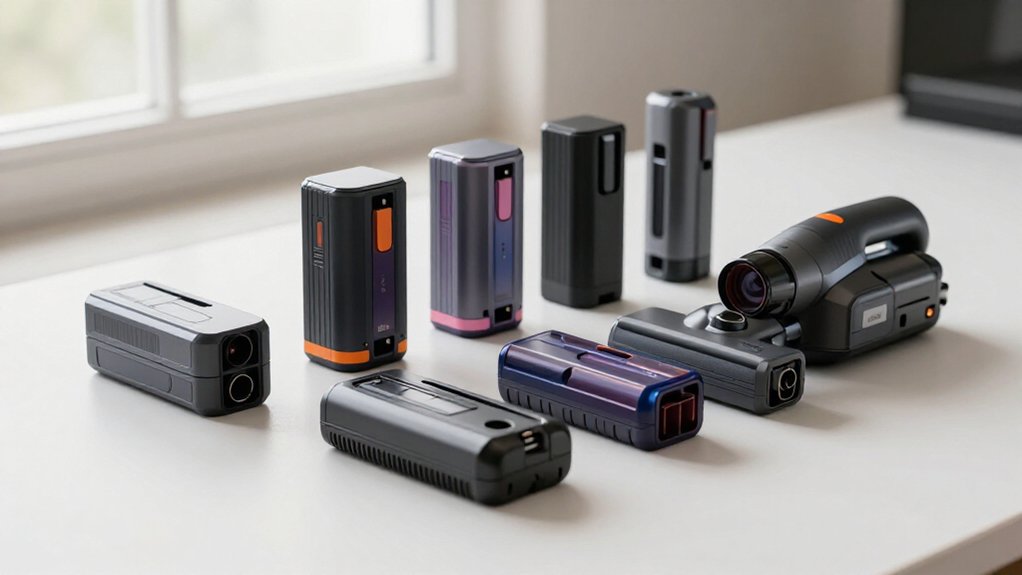
To match the right cordless vacuum battery, verify the exact model and battery part number first.
Match nominal voltage within 0.5 V, chemistry, capacity, BMS, connector, polarity, and mounting design.
Confirm charger voltage, current, wattage, safety marks, and barrel dimensions, such as 5.5×2.1 mm versus 5.5×2.5 mm.
Don’t assume Dyson V10/V11, Shark, or other series compatibility.
Never charge a swollen pack or lithium-ion battery below freezing.
Test polarity and output with a multimeter; details ahead clarify charging fitment.
Voltage, Chemistry, Connector Match
Start by matching the replacement charger’s output voltage and current to the original label, common ratings include 18.2 V, 19 V, 22.2 V, 25.2 V, or 26 V at roughly 1.0–2.5 A, and verify identical polarity, such as center-positive or center-negative.
Then confirm the plug’s dimensions, including outer and inner diameters; common barrel sizes include 5.5mm × 2.1mm and 5.5mm × 2.5mm. A physically similar connector can still fail or reverse polarity if you don’t measure it.
Check chemistry before connecting the pack. Modern vacuums generally use lithium-ion cells, while older units may require NiMH or NiCd charging behavior. Match the battery’s nominal voltage within 0.5 V and use a compatible BMS and termination profile. Avoid universal or adjustable-voltage adapters: they can overheat cells, reduce capacity prematurely, and trigger protection mid-cycle.
Reject listings that omit voltage, current, polarity, or connector measurements. Exact electrical and mechanical specifications matter more than a vague “compatible” claim. Test the replacement with a multimeter before permanent installation and charging starts.
Vacuum Brand Fitment Matrix
Brand fitment is platform-specific, not brand-wide: match the vacuum’s exact model number and battery part number before assuming compatibility. Confirm the platform, mounting style, and approved replacement listing; a shared brand name doesn’t make packs interchangeable.
Use this matrix to narrow your search, then verify the listed part number with the manufacturer.
| Brand/series | Typical fitment | Key exception |
|---|---|---|
| Dyson V6–V8 | Platform-specific mounts; don’t cross-fit by voltage | V10–V15 and Gen models use different interfaces |
| Shark/Electrolux | Match each series or listed pack | ION, Vertex, Rocket, and Ultimate800 aren’t universal |
For Bissell, Hoover, Eureka, Miele, and Eufy, treat each series as separate unless the manufacturer confirms fitment. Robotic packs usually match one model or series. A screw-in housing won’t accept a click-in pack without a confirmed match.
Battery Label Markings Explained
Once you’ve narrowed fitment to the exact model and battery part number, read the charger’s adapter-brick label—not the vacuum housing—for output voltage, current or wattage, and polarity.
Confirm the pack’s nominal voltage matches within 0.5 V. Record charger current in amperes or derive it from watts divided by volts. Check the polarity symbol: center-positive (+) and center-negative (–) aren’t interchangeable. Measure the plug in millimetres, including outer and inner diameters; 5.5 × 2.1 mm and 5.5 × 2.5 mm aren’t equivalent.
Compare pack markings with the manual or original label, especially if you’ve lost the charger. Reject vague “compatible with” claims and broad ranges such as “19 V ±1 V.” Mismatches can overheat cells and accelerate degradation. Choose UL, ETL, CE, or GS-certified replacement products.
Runtime: 20–60 Minutes
You’ll typically get 20–60 minutes, depending on battery capacity, floor type, and operating conditions. Higher Wh/mAh capacity generally extends runtime, while max suction and dense carpets increase current draw and shorten it.
To extend cleaning time, use lower-power modes when suitable and recharge near 20–30% remaining.
Typical Runtime Ranges
Cordless vacuum runtime typically ranges from 20 to 60 minutes, depending on battery capacity, model, and compatible power mode. You’ll see about 20–30 minutes on basic settings, while compatible advanced models may approach 60 minutes or more in their specified lower-power modes. Select the replacement pack by your vacuum’s model and approved voltage, connector, and form factor; don’t assume a stated runtime transfers across models.
High suction, deep or embedded debris, and motor load can reduce runtime substantially, so treat advertised figures as mode-specific estimates rather than guarantees.
To preserve usable runtime over time, recharge when the indicator reaches 20–30%, and avoid charging or operating in high temperatures. If measured runtime drops sharply, stop using the pack until you verify battery-management and charger compatibility.
Battery Capacity Factors
Battery capacity largely determines runtime: a 15–30-minute pack may support basic models, while compatible higher-capacity packs can deliver up to 60 minutes or more in low-power modes.
Compare capacity in mAh or Wh, but confirm that the replacement matches your vacuum’s nominal voltage, chemistry, connector, dimensions, and battery-management system. A larger capacity usually stores more energy and extends runtime, yet it can add weight or exceed the compartment’s physical limits.
Check discharge-current capability, too: a pack that sustains the vacuum’s demand may outperform a higher-mAh alternative that can’t deliver current reliably. For accurate compatibility, match the OEM part number and charger requirements rather than choosing capacity alone. Recharge when approximately 20–30% remains; avoiding complete depletion helps limit wear and preserve capacity over repeated cycles.
Suction Mode Impact
Although a vacuum may be rated for up to 60 minutes, runtime depends heavily on suction mode: standard settings typically deliver about 15–30 minutes, while boost mode can reduce runtime substantially. Because boost settings draw more current, you’ll exhaust the same Ah or Wh capacity faster, and battery discharge limits can reduce usable energy further.
Use the lowest suction level that still meets your cleaning requirement; medium or standard mode generally extends operation toward the 20–60-minute range. If you’re verifying a replacement pack, compare runtime in the same mode, because advertised figures often reflect low-power operation. A healthy battery should provide reasonably consistent mode-to-runtime results, but repeated deep discharges and prolonged boost use accelerate capacity loss. Match voltage, connector, dimensions, and BMS carefully first.
Floor Type Differences
Floor type directly affects vacuum runtime, which typically ranges from about 20 to 60 minutes on a compatible battery. Smooth hard floors demand less current, so your pack may approach the upper end of the range. Thick-pile carpet, rugs, and heavy debris increase brush resistance and suction load, accelerating discharge and reducing minutes.
If you select a higher suction setting for carpet, expect shorter runtime even when battery capacity stays unchanged.
Match the pack’s nominal voltage, connector, chemistry, dimensions, and BMS to your vacuum; capacity alone doesn’t establish compatibility. A higher-mAh Li-ion pack can provide greater energy and consistent power than NiMH or NiCd designs, but its discharge capability must support the vacuum’s demand. Check the runtime rating under comparable floor and power conditions, not capacity.
Extending Cleaning Runtime
To extend cleaning runtime from roughly 20 to 60 minutes, use the lowest effective power setting and select a higher-capacity pack when the vacuum supports it. Confirm the replacement’s nominal voltage, Li-ion chemistry, connector polarity, dimensions, and BMS match the original; higher mAh or Ah increases energy, but may add weight or fail to fit.
If the battery is integrated, you can’t safely add capacity externally; use a compatible OEM or certified replacement for your model.
Recharge at approximately 20–30% rather than after complete depletion, and don’t leave the pack on continuous float charging. Charge and store it in a cool, dry 15–25°C environment; around 30°C or heavy suction increases current demand, reduces effective runtime, and accelerates degradation. Replace swollen or damaged packs immediately.
Verify Model Number First
Start with the exact vacuum model number from the original charger label, battery pack, or user manual, then match it against the replacement battery and charger specifications. If you can’t find the charger, find the manual PDF by searching the model plus “specifications.” Confirm the battery’s nominal voltage, chemistry, capacity, connector, dimensions, and exact OEM part number.
Verify charger’s output voltage against battery’s requirement, allowing no more than ±0.5 V. Verify output current, wattage, polarity, and connector dimensions; a 5.5 × 2.1 mm plug isn’t interchangeable with a 5.5 × 2.5 mm plug. Reject listings that don’t clearly list V/A/W data, polarity, or safety marks such as UL, ETL, CE, or GS. Prefer OEM or BMS-compatible replacements, and confirm the seller’s return policy before ordering.
Swollen Pack Warning Signs
If a lithium-ion vacuum battery’s case is bulging or no longer fits its compartment and contacts correctly, treat it as unsafe. Swelling can indicate internal cell failure and heat buildup, not merely a dimensional mismatch. Stop using the pack immediately, and don’t charge it.
Pay particular attention if it becomes unusually hot during charging or cleaning, loses capacity rapidly, or makes the vacuum shut down mid-cycle; these symptoms can indicate that the battery-management system (BMS) can’t control the cells safely.
If the charger works normally but the pack won’t reach a full-charge indication, suspect battery failure. Don’t force, puncture, open, or charge it with a nonmatching adapter. Remove from service, keep it away from heat, recycle it, and replace it with specified part-number pack.
Dyson V11-to-V10 Fit
The Dyson V11 and V10 use different battery-pack designs, so a V11 battery won’t automatically fit a V10. Before you buy, identify your V10 model and compare its battery part number with the replacement label. Confirm that the pack’s connector, terminals, mounting points, and dimensions match the V10 charging interface; Dyson batteries aren’t universally interchangeable across generations.
If you’re considering a V11 pack, don’t rely on marketplace “compatible with” claims. Check the V10 manual and the charger label for required output voltage, current or power, and positive/negative polarity. The replacement battery and charger must share those specifications; a mismatch can prevent operation or damage the electronics.
Also verify the pack’s BMS compatibility, then use a V10-specific OEM or replacement pack when specifications remain uncertain.
Charging Below Freezing Temperatures
Once you’ve confirmed the battery and charger are compatible, check the battery’s temperature before charging. Lithium-ion packs at or below 0°C may charge slowly or refuse charging until they warm. Even with correct voltage and current, cold-soaked cells can trigger BMS protection rather than indicate a failed charger.
- Bring the vacuum or removable pack indoors and let it reach roughly 15–25°C before connecting the charger.
- Check that the casing feels near room temperature; don’t rely solely on ambient air readings.
- Keep charging away from cold garages, drafts, and flammable materials, and provide normal ventilation.
- If charging remains blocked after warming, disconnect the pack and consult the vacuum’s manual or manufacturer.
Repeated charging during freezing conditions, followed by warming cycles, can accelerate capacity loss.
Charger Polarity Verification
Before connecting a replacement charger, verify its output voltage, current rating, connector polarity, and DC plug size against the original charger or the vacuum’s specifications. Use the label to confirm voltage, amperage, and the +/− polarity symbol.
- Identify whether the barrel connector is center-positive or center-negative; reversed polarity can overheat the battery and damage its BMS.
- Measure the plug dimensions: a 5.5 × 2.1 mm plug isn’t the same as 5.5 × 2.5 mm.
- If the original charger’s missing, consult your manual or match the battery part number.
- Reject vague “compatible” claims; unverified units may overheat to 65°C and accelerate capacity decay by 22–67%.
Test with a multimeter, and use OEM or certified chargers for reliable termination and BMS protection during every charge cycle.
Conclusion
Before you order, confirm your vacuum’s exact model, battery voltage, chemistry, connector, and physical fit. Use the brand fitment matrix and read every label marking; don’t rely on appearance alone.
Expect roughly 20–60 minutes of runtime, depending on capacity and load. Never use a swollen pack, charge below freezing temperatures, or connect a charger without verified polarity. Correct matching protects performance, charging safety, and your vacuum’s electronics, preventing unnecessary damage and risk during use, too.