The Vacuum Cleaner Maintenance Checklist: 12 Habits That Extend Its Life
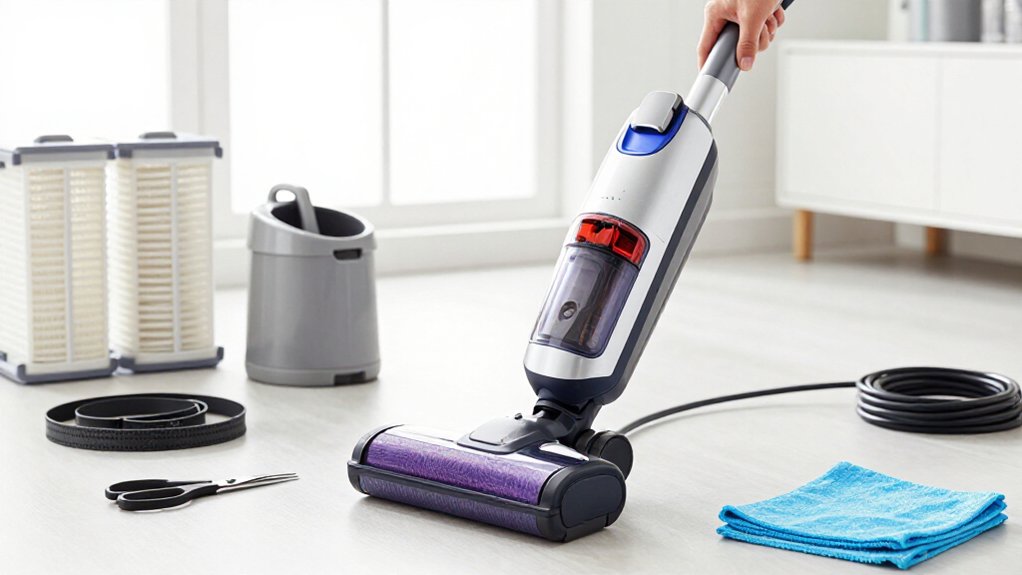
Extend your vacuum’s life by emptying the dustbin or bag at three-quarters full, then servicing filters.
Check filters monthly, wash only washable types, and air-dry them completely.
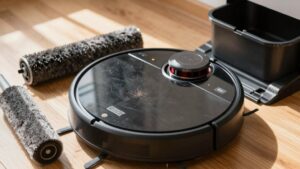
Brush debris from hoses, ports, attachments, and the roller.
Use hard-floor mode and moderate suction on delicate surfaces.
Never vacuum wet spills.
Stop for blockages, overheating, or burning smells, and unplug before maintenance.
Inspect the cord, seals, and filter fit regularly.
More practical safeguards follow below for safety.
Pet Owners, Allergy Sufferers
If you live with pets or allergies, vacuum more frequently and empty the dustbin or replace the bag when it reaches about three-quarters full, or sooner, to prevent clogs, hair buildup, and odor-causing bacteria or mold.
For allergy control, check filters about monthly, or follow your manufacturer’s schedule. Dirty filters can release fine dander and reduce airflow, forcing the motor to work harder. Replace disposable cartridges with approved equivalents to preserve filtration and fit.
When you empty a bag or canister, do it outdoors if possible, wear a mask if dust is likely to escape, and seal disposables before disposal. Wash washable filters only as directed, then air-dry them completely before reinstalling, often until the next day, to prevent mildew. Keep the vacuum unplugged during servicing.
Gather a Soft Brush
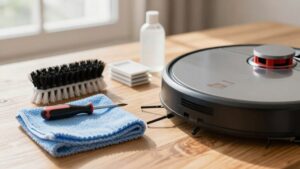
Gather a soft-bristled brush, such as a toothbrush, small paintbrush, or nylon detailing brush, to remove dust, hair, and lint from the vacuum’s bin, crevices, attachments, vents, and accessible brush-roll housing.
Unplug the vacuum first; remove its battery if it’s cordless. Work gently from outer surfaces toward the inlet, and don’t force the brush into a hose or motor opening. Use a flashlight or small mirror to inspect tight areas.
After loosening debris, wipe dry surfaces with a lint-free cloth. If you use canned air, keep it upright and apply brief bursts, directing dust away from electrical components.
- Dust-bin seams and inlet ports.
- Attachment interiors and edges.
- Hose ends and wand openings.
- Brush-roll end caps and housing.
Brush weekly to preserve airflow, limiting strain.
Monthly Filter Checkpoints
Check your vacuum’s filters once a month, or according to the manufacturer’s schedule, to prevent clogged media from restricting airflow and reducing suction. Inspect pre-motor and post-motor filters for dust loading, tears, warped pleats, and loose seals. Use only the cleaning method specified in your manual; washable media should be rinsed with water and air-dried fully, typically until the next day, before reinstallation. Never reinstall a damp filter, because trapped moisture can encourage mold and odors.
| Checkpoint | Action | Safety result |
|---|---|---|
| Washable filter | Rinse; dry completely | Prevents mold |
| HEPA cartridge | Inspect; replace as scheduled | Preserves capture |
For sealed HEPA systems, keep filters seated so particles and odors don’t escape. A musty smell warrants deeper housing cleaning as directed. Replace any damaged filter that won’t fit securely promptly.
Empty Dustbin Before Filters
Empty the dustbin before servicing the filters to prevent clogging, preserve suction, and reduce motor strain. This also protects filter life by limiting fine-particle buildup and maintaining efficient airflow.
Make it a routine: empty the bin, check the seals and filter seating, then clean or rinse washable filters as directed and dry them fully before reinstalling.
Why Empty First
Before servicing the filters, clear the dustbin or replace the bag to remove the bulk of collected debris. A partially full container can restrict airflow, so the vacuum may not pull air through the filter effectively during cleaning. In a bagless model, empty the container at three-quarters full, or sooner for heavy use.
Switch off and unplug the vacuum before opening the compartment. Hold the container upright, release it over a lined bin, and close or seal disposable bags before disposal. Full containers can harbor odor-causing bacteria or mold; removing them first limits what the filter must handle. If the filter is washable, emptying first lets you remove remaining fine dust without redistributing it inside the machine. Follow your manual for bag and container procedures.
Prevent Filter Clogging
Timely dustbin emptying keeps airflow steady and prevents debris from rapidly clogging the filters. Empty a bagless bin or change the bag before it reaches about three-quarters full; don’t wait until packed debris restricts airflow and overloads filtration. With pet hair, carpets, or frequent use, empty it more often.
Make “empty first, then vacuum” your routine, and check seals and crevices for trapped dust.
If odors or reduced performance persist, inspect the filters rather than repeatedly operating the machine. Follow your manual: clean washable filters as directed, often weekly, and let them air-dry completely before reinstalling. Never run the vacuum with a wet filter, damaged filter, or unsecured bin. Replace disposable filters or bags with the specified parts, and unplug the machine before maintenance.
Improve Suction Performance
When the dustbin or bag approaches three-quarters full, empty it to restore airflow and reduce motor strain. For strongest performance, empty a bagless compartment after each cleaning session, especially if you have pets or vacuum frequently.
Switch off and unplug the machine before removing the container, and carry it carefully to prevent dust from escaping. Seal disposable bags before disposal, and install the correct replacement size; an incorrect bag can leak or restrict airflow. After emptying, check the intake path and filter area for obvious blockage before restarting.
If suction remains weak, inspect the hose, wand, nozzle, and seals for clogs or gaps. Don’t operate the vacuum with a loose container or damaged gasket. A clean dust path helps maintain suction and prevents overheating.
Protect Filter Life
Empty your dustbin or bag before it reaches about three-quarters full; otherwise, restricted airflow forces the filters to trap more fine dust and can increase motor strain. On a bagless model, release the canister over a bin and avoid shaking it indoors; fine particles can become airborne. Check the lid seal, gasket, and crevices for trapped debris, then close the container securely to prevent leaks.
If you use a washable filter, rinse it only as your manual permits and air-dry it completely before reinstalling. Moisture can cause odor, reduce filtration, and damage components. Inspect filters for embedded dust or persistent odor; clean or replace them as they are specified, especially HEPA elements. Unplug the vacuum before handling filters, and never operate it with a missing filter.
Establish A Routine
Make dustbin or bag checks the first step in your filter routine, and empty it before it reaches about three-quarters full. A full container restricts airflow, weakens suction, and forces the motor to work harder. For bagged models, replace the bag sooner—even at half capacity—if pickup declines or dust buildup becomes noticeable.
After each use, switch off and unplug the vacuum before opening the container or filter compartment. Empty the bin, then inspect and clean the filters in that order. If a filter is washable, rinse it only as the manual directs, and let it air-dry completely before reinstalling; moisture can encourage mold and damage the motor.
Set a reminder or tie this check to daily cleaning. This means you’ll preserve airflow.
Hard-Floor Suction Settings
Choose the hard-floor setting and start with medium suction to lift debris without scattering it. Keep the suction head flat, use slow passes, and avoid high-agitation brushes on delicate wood or laminate.
Adjust suction for heavier grit, then test corners and edges to confirm effective pickup without stressing the floor.
Choose Proper Suction
On bare tile, laminate, or hardwood, set the vacuum to hard-floor mode or switch off the brush/beater bar to prevent debris scattering and surface scratches. For sealed floors, choose a lower suction setting when available; high suction can lift rug edges or pull lightweight debris unevenly. Use the crevice tool or dusting brush for baseboards and corners instead of increasing suction.
Test the selected setting on a small hidden area first because models differ and strong airflow may leave tracks on glossy finishes.
Before adjusting settings, check the filter and empty a bagless bin if suction feels inconsistent. Blockages can distort airflow and make hard-floor pickup unreliable. Keep the nozzle moving steadily, and stop the machine if it overheats or behaves unexpectedly during use.
Protect Hard Floors
When you’re vacuuming sealed wood, laminate, vinyl, or tile, set the machine to hard-floor or bare-floor mode and switch off the brush roll if your model allows it. This reduces excessive suction, limits scattering of fine particles, and helps protect delicate finishes. Don’t run maximum suction continuously: begin with a lower setting and increase it only when pickup remains inadequate.
Move the nozzle slowly, overlapping each pass slightly, so it can lift particles without relying on extreme suction.
Check the suction path and nozzle, around a brush-off or bare-floor attachment. A clog can restrict airflow and weaken pickup even when the mode is selected. Stop the vacuum before clearing an obstruction, and disconnect the power on models. Follow your manufacturer’s instructions for settings and attachments.
Adjust For Debris
With the correct hard-floor mode selected, match suction to the debris rather than defaulting to maximum power. For fine dust or sand, start at medium suction and make slow, overlapping passes; excessive force can make larger particles skid instead of entering the nozzle. For cereal, crumbs, or cat litter, choose a stronger hard-floor setting and keep the nozzle head flat against the floor. If your machine has a brush roll, switch it off on sealed wood, laminate, or vinyl to prevent scratches and concentrate airflow on pickup.
After cleaning, inspect the surface under good lighting. If debris remains, repeat overlapping rows at the adjusted setting before increasing power. This approach reduces motor strain, limits unnecessary noise, and helps protect floor finishes and seals.
Steady Suction, Fewer Odors
Regularly empty or replace the bag or dust bin before it’s about three-quarters full to maintain airflow and prevent dust from being left behind. Empty it sooner after heavy cleaning or vacuuming damp material, because contaminated dust can support bacteria or mold and create odors. Clean washable filters about weekly, following your manual, and let them air-dry completely before reinstalling them. Replace filters on the specified schedule; a clogged filter restricts airflow and reduces filtration.
Clear hair and string from the brush roll, nozzle, and attachments so debris can’t obstruct the air path or hold odor-causing buildup. Check hose passages and seals during routine care, and correct blockages promptly. If your vacuum runs unusually long, stop and let the motor cool to reduce overheating.
Stop at Burning Smells
Stop the vacuum immediately if you smell burning, then unplug it to prevent motor damage or a potential fire. Let the unit cool completely before you inspect it. Check the brush roll and nozzle for hair, carpet fibers, or other blockages that can jam the beater bar and create excessive heat. Clear debris carefully, then check the bag or dustbin.
Empty or replace it when it’s about three-quarters full, because restricted airflow can overheat the motor. On an upright, inspect the belt for wear, cuts, or slipping, and replace it if needed.
If the odor persists, returns, or smells strongly electrical, don’t restart the vacuum. Arrange professional service, because an internal fault may make home troubleshooting unsafe. Leave internal electrical repairs to a qualified technician.
Never Vacuum Wet Spills
Never run a standard vacuum over wet spills, because moisture can corrode the motor and shorten the machine’s service life. Water or damp fibers trapped in the dustbin can encourage mold, bacteria, and foul odors. If you spill food, drink, or wet carpet, blot it first and let the area dry completely.
- Use towels or a squeegee to remove liquid before dry vacuuming.
- Choose a wet/dry vacuum only when its seals, filters, and instructions permit liquid pickup.
- Don’t vacuum sludge: moisture binds hair and dirt, clogging the nozzle or brush roll and reducing suction.
- If accidental exposure occurs, stop immediately, empty the collection chamber, clean affected parts and filters as directed, and let everything dry fully.
This caution prevents contamination and protects cleaning performance.
Inspect the Power Cord
Before each use, inspect the power cord for cuts, fraying, nicks, flattened sections, or damage near the plug and vacuum body, where repeated bending weakens the wiring. These defects can cause intermittent operation, electric shock, or fire. Fully unwind the cord before vacuuming; tight coils and kinks strain conductors and may promote overheating.
Keep the vacuum unplugged during cleaning, and never pull or lift it by the cord. Grasp the plug when disconnecting to protect internal connections and prevent loosening.
If you see exposed wire or persistent damage, stop using the vacuum immediately. Don’t cover the defect with tape or continue testing it. Have a qualified repair shop replace the cord, and use the correct replacement for your model. Check the cord after storage.
Conclusion
Keep your vacuum working safely by turning these habits into a routine. You’ll protect suction, reduce odors, and help filters, brushes, cords, and motors last longer. Check components before each demanding job, empty the dustbin promptly, and match settings to the floor.
Don’t vacuum liquids or ignore burning smells, unusual noise, or damaged insulation; stop and unplug the machine instead. With consistent care, you’ll clean more efficiently, avoid preventable repairs, and extend overall service life.