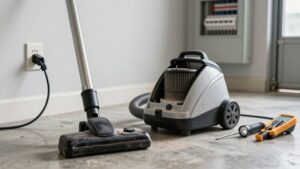
Backpack Vacuum Motor Troubleshooting: 8 Checks Before You Call for Service
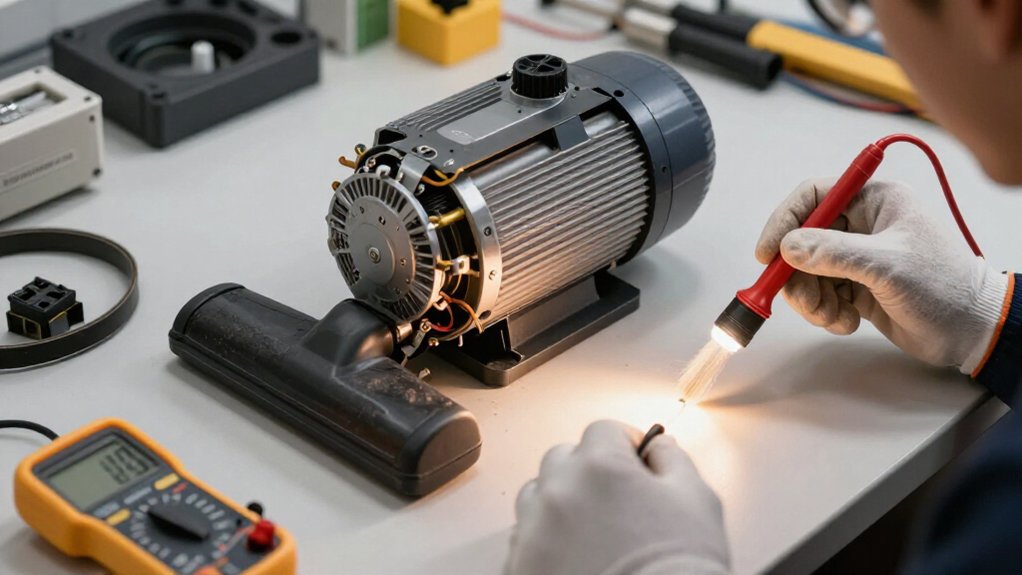
Before calling service, you can check eight basics: disconnect power and remove the battery, then place the vacuum on a stable bench.
Inspect the intake screen, hose, floor nozzle, brush area, and exhaust filter for clogs, damage, or poor seating.
Check brush wear, housing screws, terminals, battery charge, and cord condition.
Stop if the motor overheats, smells burnt, or airflow drops.
Don’t repeatedly restart it; steps below can pinpoint the fault safely before you call.
Backpack Motor Check Expectations
Before assuming the motor has failed, identify the symptom: no start, weak suction, a nonspinning brush roll, overheating, or unusual noise can indicate different faults.
Treat the symptom as a diagnostic direction, not proof of motor failure. If the unit won’t start, check power, switch, and protective devices. For weak suction, check the hose, head, bag, and filters for blockage or poor seating.
If the brush roll doesn’t spin, inspect the head for hair, debris, or drive fault. Overheating commonly follows restricted airflow, a loaded bag, clogged filters, blocked vents, or brush resistance. Stop immediately for grinding, vibration, burning odor, or smoke; continued use can worsen damage. After checks, expect service to test airflow paths and motor components internally before recommending any repair or replacement.
Disconnect Battery Before Inspection
Disconnect every power source before inspecting a backpack vacuum: switch the unit off, unplug the cord, and remove the battery pack from cordless or hybrid models. Confirm the owner’s manual permits access and identify the release latch or terminal connector. A charged pack still stores hazardous energy, so you don’t touch exposed contacts with metal tools.
- Switch off the onboard control and wait for the motor to stop.
- Depress the latch and slide the pack out, keeping terminals away from conductive surfaces.
- Disconnect low-voltage quick-connects only at their release, never by pulling wires.
- Check compartment voltage with a multimeter, set it to DC voltage, and confirm zero or the manufacturer’s safe residual value.
Isolate swollen, hot, leaking, or odorous packs; contact authorized service immediately.
Step 1: Place Unit on Workbench
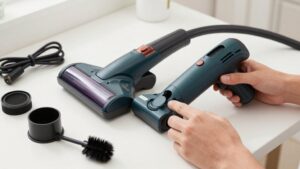
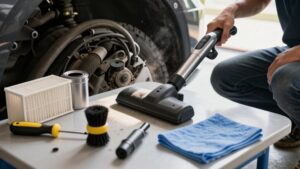
Set the backpack vacuum on a stable workbench with the hose and floor tool accessible, keeping the unit powered off and unplugged or its battery removed. Position it so you can reach the hose connection, motor housing, external vents, and power controls without balancing the machine. Keep the work area dry and well lit; a stable surface prevents movement while you check symptoms.
As you expose the motor compartment, arrange panels, screws, and filters in order. This helps you restore assembly before testing. Use this setup to locate burning smell, identify where noise originates, and spot loose or misseated parts. Don’t energize the vacuum until all components are secure. If damage, heat discoloration, or an unsafe condition appears, stop and arrange service rather than continuing diagnosis.
Step 2: Inspect the Intake Screen
With the vacuum still powered off and positioned securely, locate the intake screen at the inlet where debris first enters the airflow path. Remove any visible hair, dust clumps, or small obstructions without forcing debris deeper into the inlet.
Inspect the screen closely for cracks, bent sections, or missing material that could let debris bypass the intended airflow path. Confirm the screen is fully seated and latched; gaps around the cover can divert air and reduce suction. If it’s heavily clogged or damaged, don’t keep running the vacuum.
After cleaning, reinstall the screen and run the unit briefly. Check suction at the hose or inlet and compare it with the previous performance. Improved airflow supports an intake restriction diagnosis, so call now for service.
Step 3: Inspect Motor Brush Wear
Once the vacuum is powered off and secured, inspect the motor brush area for frayed bristles, uneven wear, or a brush that’s noticeably shorter than when new. Remove hair, threads, and debris from the brush and motor-inlet openings. Packed material can restrict movement, increase friction, and reduce agitation, so clean it before judging wear.
Check the backing plate and mounting hardware for cracks, looseness, or missing pieces. Stop using the vacuum if component has failed; continued operation can create abnormal loading and damage.
Look for burn marks, dark residue, or a hot smell near brush contact points, which can signal arcing or worn contacts requiring service. After cleaning, confirm the brush spins freely without rubbing. Recheck performance against the triggering symptom. Wear requires service.
Step 4: Measure Motor Resistance
Unplug the backpack vacuum and disconnect the motor leads before measuring resistance so the meter reads only the motor windings. Set your multimeter to the lowest ohms (Ω) range. Touch one probe to each motor terminal; record the reading. Compare your reading with the manufacturer’s specification or a known-good motor.
A very high or “open” reading indicates a broken winding; a very low, near-short reading suggests an internal fault.
If value changes dramatically when you reseat probes or wiggle wiring, suspect a poor connection or damaged internal harness rather than the motor. Don’t energize the vacuum to verify a result. If resistance shows an open or short, or falls outside the expected range, stop testing and arrange professional motor diagnosis to avoid unsafe energizing.
Step 5: Tighten Loose Terminal Screws
Before inspecting the motor terminals, disconnect the backpack vacuum from mains power or remove its battery, and let it fully power down. Inspect the motor wiring area and identify terminals that feel loose. Select the correct screwdriver size. Re-seat any displaced wire under its terminal, then tighten the screw until the conductor is firmly clamped and doesn’t wiggle. Apply only snug pressure, because over-torquing can damage the terminal or conductor.
Check that insulation isn’t trapped beneath the terminal and that each wire remains routed away from moving parts. Restore the battery or mains connection and run the vacuum normally. If it still performs poorly, heats unusually, or sparks, stop testing. Don’t keep adjusting connections; arrange professional motor service to diagnose deeper electrical faults.
Step 6: Reinstall Housing Screws Securely
After you’ve finished servicing the motor area, reinstall every housing screw with the correct type and length for its location. Check that the motor cover sits flush before tightening; any gap suggests a mis-seated component, trapped wire, or misaligned panel. Don’t force a screw into threads.
Tighten the screws in an even pattern, alternating opposite sides or quarters instead of tightening one fastener first. This distributes pressure and helps prevent casing distortion, thread damage, and air leaks. Snug each screw, then apply even torque; don’t overtighten housing screws. Reconnect power only after confirming the cover is secure.
Test the vacuum and listen for rattling, noise, or vibration. If movement persists, switch it off and recheck screw seating, mounts, and housing alignment before operation.
Check Battery Indicator Lights
Start by pressing the ProTeam battery’s Fuel Gauge button and interpreting the LEDs: four solid LEDs indicate approximately 80–100% charge, three indicate 60–80%, and one flashing LED indicates less than 20%, so recharge the battery immediately.
If it won’t power or charge, remove it from the vacuum and charger. Hold the Fuel Gauge button for over five but under 10 seconds to start diagnostics. Multiple LEDs show cell-bank status.
One solid or blinking LED indicates a critical hard fault; safety lockout requires replacement with proper SKU. Check charger LEDs: solid red means standby after about four seconds, flashing green means charging, solid green means charged, and flashing amber or yellow indicates a temperature fault. Record result before calling service; never bypass a locked battery.
Motor Overheats During Use
A normal battery reading doesn’t rule out a thermal problem: stop the backpack vacuum immediately if the motor becomes unusually hot, airflow drops, or you smell burning.
Let it cool fully. Disconnect power, then check the hose and floor nozzle for hair, threads, or debris. Empty the dirt container and verify unobstructed airflow before restarting.
This prevents further thermal stress.
| Check | Finding | Action |
|---|---|---|
| Airflow | Restricted | Clear path |
| Collection | Full | Empty it |
| Power | Unstable | Stop use |
For corded units, inspect the cord and connection points; for cordless units, reseat the battery and confirm adequate charge. If overheating returns after these checks, stop using the vacuum and arrange service; internal motor, thermal fuse, or electrical faults may require diagnosis. Don’t restart repeatedly, because heat can damage windings or ignite.
Clean Exhaust Filter Media
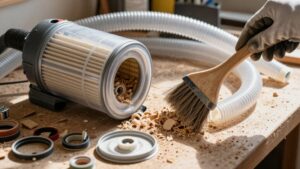
Because a clogged exhaust filter restricts cooling airflow and can overwork the motor, unplug the backpack vacuum or remove its battery before servicing it. Locate the exhaust filter media and remove it according to the manufacturer’s instructions. Inspect for gray loading, packed dust, tears, or warping.
If the media is washable, rinse it only as directed, then let it dry completely before reinstalling it. Otherwise, tap out debris gently and replace the filter when clogging persists. Replace it if odor remains after cleaning, since restricted airflow reduces suction and increases motor load.
Check this filter routinely, especially in high-dust areas, because dust loading increases over time. After reassembly, run the vacuum. Confirm airflow at the exhaust. Poor airflow suggests clogging or incorrect seating.
Conclusion
Before you call for service, work through these checks in order. Disconnect the battery, secure the vacuum on a workbench, and inspect the intake screen, brushes, screws, indicator lights, overheating symptoms, and exhaust filter media.
Reassemble everything carefully, then test the unit after each correction. If the motor still won’t start, runs erratically, or overheats, stop using it and schedule qualified service to prevent further component damage and protect the battery, wiring, and control board too.