Vacuum Lost Suction? 9 Fixes to Try Before You Call It Broken
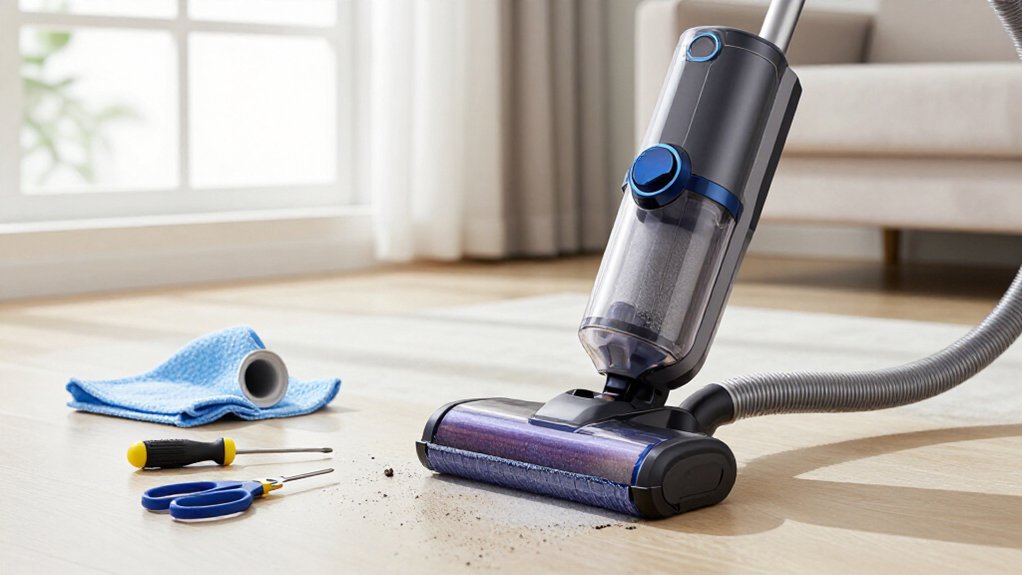
If your vacuum’s lost suction, unplug it—or remove its battery—before inspection. Disconnect the hose, then briefly test the body inlet: strong suction points to a clog or leak downstream.
Empty the dustbin or replace a two-thirds-full bag, inspect pre- and post-motor filters, and dry washable filters for 24 hours.
Check seals, hose, wand, floor-head height, and brush-roll tangles.
Finally, inspect the belt for slipping or damage. Follow checks below; you’ll pinpoint the fault.
Run a Suction Test
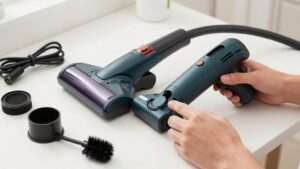
Start by unplugging the vacuum, or removing its cordless battery, and disconnecting the main hose or wand from the body. Place your hand firmly over the exposed inlet and briefly activate the vacuum according to its manual.
If you feel strong suction, the motor and filters are probably functioning, so investigate the hose, wand, or floor head for a clog or air leak. If suction feels weak or absent, start with the main unit: a full bag or dustbin, or restricted filters, is more likely.
If suction improves only after you reconnect an attachment, that attachment’s airflow path remains the restriction. Repeat the comparison with each accessory separately to isolate the fault. Skip robot vacuums entirely. Use the main inlet on a suitable full-size model instead.
Unplug Vacuum Before Inspection
Before you inspect the vacuum, unplug it from the wall and switch it off; for a cordless model, remove the battery pack. Confirm the plug is fully out, the switch is off, and the cord isn’t under tension. This isolation prevents:
- Electric shock near wiring, switches, filters, or the motor.
- Accidental brush-roll or belt movement that could injure you.
- Short circuits if moisture remains in cleaned components.
Keep power disconnected while you remove the dustbin, bag, hose, filters, or floor head. Don’t operate the vacuum with damp washable filters; let every part dry completely, typically for at least 24 hours, before reassembly and testing.
Consult your model’s manual before opening panels. Stop and contact an authorized technician for internal electrical or motor faults immediately.
Step 1: Gather Flashlight and Scissors
With the vacuum unplugged, or its battery removed, make sure a flashlight through the hose, wand, floor-head neck, and airway to locate hidden clogs. If you can’t see a blockage clearly, detach both hose ends and inspect each section separately. Look for compacted hair, thread, paper, or debris that narrows the passage, and check for collapsed or split hose sections that can leak air.
Turn the floor head over after verifying it’s unplugged or its battery is off. Use scissors to cut tangled hair or thread around the brush roller, working near bristles, bearings, and belt. Remove material that wraps or stalls the roller; don’t cut wiring or seals.
After clearing tangles, shine flashlight through floor head and airway. Confirm no debris remains before testing suction.
Step 2: Remove the Vacuum’s Dustbin
A full or overpacked dustbin can restrict the inlet and sharply reduce airflow, so remove it and empty it even if it hasn’t reached the fill line. On a bagless model, tap debris into a bin and wipe the container’s interior with a dry cloth; loose particles can otherwise re-enter the air path. If you use a bagged vacuum, replace the bag at roughly two-thirds full, because suction may decline before it looks stuffed.
Reinstall the dustbin or bag correctly, then press until it clicks. Check that lid and doors latch. A poor fit causes leakage and mimics motor trouble. Turn vacuum on and retest floor-head pickup after reassembly. If suction returns, the container caused the restriction. If it doesn’t, continue your diagnosis elsewhere.
Step 3: Inspect Filter for Clogs
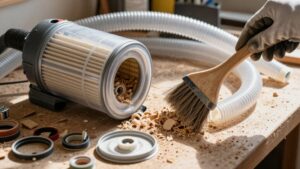
If emptying the bin didn’t restore pickup, inspect both the pre-motor filter, usually foam or another primary filter, and the post-motor exhaust filter. Unplug the vacuum, remove each filter, and check for a dust cake, oily residue, moisture, tears, or deformation. A blocked filter restricts airflow before or after the motor, so the cleaner may sound normal while pickup falls.
Confirm the filter type before cleaning; don’t wash a non-washable filter, because moisture can worsen restriction. Follow the manufacturer’s service instructions, then reinstall a correctly seated filter. If suction doesn’t improve, replace a worn or damaged filter with the exact model. Inspect filters monthly; heavy pet or allergy use may require more frequent checks. Genuine replacements commonly last three to six months depending on loading.
Step 4: Rinse the Washable Filter Thoroughly
Once you’ve removed the washable filter from the unplugged vacuum, rinse it under cool, running water until the water runs clear. This flushes trapped dust that restricts airflow and reduces suction. Don’t scrub aggressively unless your manufacturer’s instructions allow it; damaged filter media can let dust reach the motor.
Set the filter in a clean, dust-free area and let it air-dry for at least 24 hours, or until no moisture remains. Never reinstall a damp filter: moisture can clog airflow, worsen pickup, and potentially damage the vacuum. Refit it only when completely dry, ensuring it seats correctly in its housing. Retest suction afterward.
If rinsing doesn’t remove embedded dust, or you find tears, deformation, or other damage, replace it with a genuine compatible filter.
Step 5: Clear Brush-Roll Hair
Next, clear the brush roll with the vacuum unplugged or its battery removed. Flip the floor head over and inspect the roller surface, bristles, end caps, and neck for hair, thread, and compacted lint. A single dense clump can stall the roller, overload its drive, and sharply reduce carpet agitation and debris pickup.
Carefully cut wrapped fibers with scissors, working parallel to the roller so you don’t nick bristles or damage the belt. Pull loosened material from both ends, then rotate the roller by hand; it should turn freely without grinding or resistance. Recheck the airway opening where lint collects.
Clean it every two weeks in homes with long-haired pets. Reassemble the head and test with paper, confirming the roller spins and lifts debris.
Step 6: Wipe Seals, Reattach Components
With the vacuum unplugged or its battery removed, inspect the hose, wand, dustbin, and filter-compartment connections for dust buildup or damage. Wipe sealing surfaces and gaskets at both ends with a dry cloth, removing dust film that can prevent a tight air seal. Check for split hoses or cracked connectors near each joint; cleaning won’t repair damaged parts, so replace them as needed.
Reattach every component firmly, pushing and twisting until you feel a click or lock. Confirm the dustbin-to-vacuum connection and filter-compartment door latch completely; even a gap can cause suction loss. Inspect gaskets for flattening or deformation, and reseat them evenly.
Listen for hissing or whistling around seals afterward. Persistent noise indicates an airflow leak; reopen the joint and check alignment.
Test Suction on Carpet
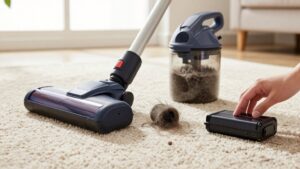
To isolate the problem, run the vacuum over carpet at its normal setting, then disconnect the hose or wand and place your hand over the main inlet port. Strong suction indicates that the motor and airflow path are working, so focus on the floor head, wand, or hose. Weak or absent suction points toward a restriction in the unit, such as a loaded bin or bag, clogged filter, or blockage.
Reconnect the attachments and repeat test. If pickup remains poor despite strong port suction, switch off and unplug vacuum, then inspect floor-head airway. Remove hair, thread, and debris, and confirm that the brush roll spins freely. Clean or replace filters, then retest. Comparing port suction with floor-head performance pinpoints where airflow is being lost.
Check the Floor-Height Setting
If pickup drops on one surface but not another, check the floor-height setting before inspecting filters or blockages. A mismatched nozzle height prevents the head from forming the correct seal, so airflow and pickup fall. Turn the dial or flick the switch on the vacuum head, then retest the area.
| Surface | Setting and symptom |
|---|---|
| Hardwood or tile | Lower; maintain nozzle contact |
| Thin carpet | Medium; preserve airflow |
| Thick carpet | Higher; prevent restriction |
| Too low on carpet | Airflow blocks; brushes strain |
Use a lower setting on hard floors and a higher one on thicker carpet. If the head sits too high, it won’t pull debris efficiently; too low, it can restrict airflow. Compare rooms with debris, adjust incrementally, and confirm pickup before checking the bag, filters, or hose.
Inspect the Drive Belt
A stalled brush roll can mimic weak suction because the floor head isn’t agitating debris into the airflow path. Flip the floor head over and remove wrapped hair or string. Check whether the brush roll spins freely by hand. If it remains stuck, inspect the drive belt for slack, cracks, fraying, or a belt that has slipped off its pulleys.
A broken or stretched belt can stop rotation even while the motor runs, making the failure look like poor suction. Replace it with the exact model-specific belt; generic sizing can cause slipping or excessive tension.
Before servicing, unplug the vacuum and follow the floor-head disassembly instructions. After installation, seat the cover and seals securely to prevent air gaps. Retest pickup carefully across carpet afterward.
Conclusion
If your vacuum has lost suction, work through these checks systematically: test airflow, clean the filter and seals, verify the dustbin, adjust the floor-height setting, and inspect the belt. Unplug the machine before opening any component, and don’t force damaged parts back into place.
After reassembly, retest suction on carpet. If airflow remains weak or the belt shows wear, stop using the vacuum and arrange professional service or replacement to prevent motor damage or injury.