Robot Vacuum Mapping Issues Decision Tree
Start by power-cycling and running a short mapping pass in a clutter-free room. Clear thick rugs, cords, and reflective surfaces. Check dock placement: flat wall, stable, 0.5 m clearance, not in a niche. Wipe LiDAR, cameras, cliff sensors and wheels with a microfiber cloth.
Ensure full charge. Don’t move the robot during mapping and update firmware/app. If drift persists, delete map and remap in one run. Then factory-reset and gather logs before contacting support to continue troubleshooting.
Quick Overview
- Start with quick fixes: clear clutter, wipe LiDAR/camera faces, remove rugs/cables, then retry mapping.
- Verify dock placement: flat wall, stable footing, 0.5m clearance, and unobstructed sightlines to avoid false landmarks.
- Clean sensors and wheels in order: LiDAR/cameras, cliff sensors, then wheel treads. Do this before every remap attempt.
- Run mapping on full charge in a single open room. Do not move the robot mid-session, and stop or restart if drift occurs.
- Update firmware/app, delete and remap in one run. Escalate to support with logs, photos, model, firmware, and timestamps if persistent.
Quick Fixes to Try Now (Before Remapping)
Want to rule out easy causes before a full remap? You’ll run quick fixes in a controlled, repeatable sequence. Power the robot, start a brief mapping pass in a single, clutter-free room with minimal reflective surfaces, and observe for immediate drift or looping.
Perform clutter removal: clear thick rugs, high-pile carpet, and long cables that snag sensors or wheels. Wipe LiDAR and optical sensor faces with a soft microfiber cloth to remove dust that produces false walls or drop-offs. Verify the charging dock is stable and hasn’t shifted during mapping; ensure it’s off furniture edges and away from walls that could mislead localization.
If mapping still fails after cleaning, decluttering, and dock stabilization, back up settings if available. Execute a factory reset and remap from a single chosen start room to avoid fragmented maps. Document each step and result to expedite troubleshooting or escalate to support.
Check Dock Placement and Room Obstacles That Break the Map
Where should the dock sit to give your robot a reliable starting reference? Place the dock aligned to a flat wall with stable footing and ample clearance. Correct dock placement prevents initial localization errors and distorted maps.
Don’t tuck the dock into an angled niche, squeeze it against a slanted surface, or set it isolated in a room center. Those configurations increase mapping distortions and disrupt route planning. Verify the dock can’t shift after setup; movement will force reacquisition and break the map.
Inspect nearby room obstacles (furniture legs, loose cables, small tables) that create false landmarks or block return paths. If you find problematic obstacles, reposition them or the dock to preserve consistent adjacency and clear sightlines. Use the table below to quickly assess conditions and actions.
| Condition | Effect on Mapping | Recommended Action |
|---|---|---|
| Wall-aligned dock | Stable localization | Leave in place |
| Angled niche | Distorted map | Reposition to flat wall |
| Centered dock | Route disruption | Move to wall |
| Nearby obstacles | False landmarks | Clear or relocate obstacles |
Clean LiDAR, Cameras, Cliff Sensors, and Wheels for Accurate Mapping
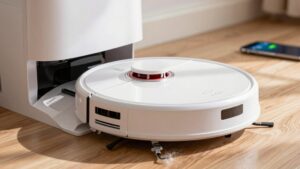
Before remapping, clean the robot’s LiDAR, cameras, cliff sensors, and wheels to eliminate dust and debris that cause false walls, misreads, and odometry drift. You’ll reduce distorted walls and false edges by following a targeted cleaning routine that prioritizes sensor faces, circular top LiDAR housings, side sensors, and wheel treads. Use gentle air, lint-free cloths, and recommended cleaners; avoid solvents.
- LiDAR and cameras: perform cleaning LiDAR, cameras steps; blow out particles, wipe optics, and inspect housing for buildup that causes localization errors and map resets.
- Cliff sensors: remove dust and debris from downward-facing sensors with compressed air and soft swabs to prevent false cliff detections that abort mapping passes.
- Wheels maintenance: clear entangled hair and debris, and inspect treads and bearings. Dirty wheels cause odometry drift and incomplete coverage.
Run this routine before each remap to minimize distortion, improve map consistency, and preserve reliable navigation performance.
Run a Proper Mapping Session: Battery, Placement, and Do-Not-Move Rules
How will you guarantee a clean, uninterrupted mapping run? Start with battery maintenance: charge the robot to full before initiating mapping to prevent mid-run power loss that can corrupt or abort map saving.
Verify the dock is secured on a flat surface with at least 0.5 meters clearance on each side to ensure reliable initial localization and return-to-dock accuracy. Apply space planning by choosing a single, open area free of clutter, loose cords, and reflective surfaces to reduce false detections and improve sensor fusion.
Do not move or relocate the robot during an active mapping session. Physical displacement introduces misalignment and may invalidate the map. If the resulting map appears incorrect, stop the session, return the robot to the dock, recharge fully, confirm dock placement and clear the space, then start a fresh mapping run.
Follow this sequence systematically: full charge → stable dock → clear area → uninterrupted run → verify map → repeat if necessary.
Update Firmware, App, and When to Delete, Remap, or Factory Reset
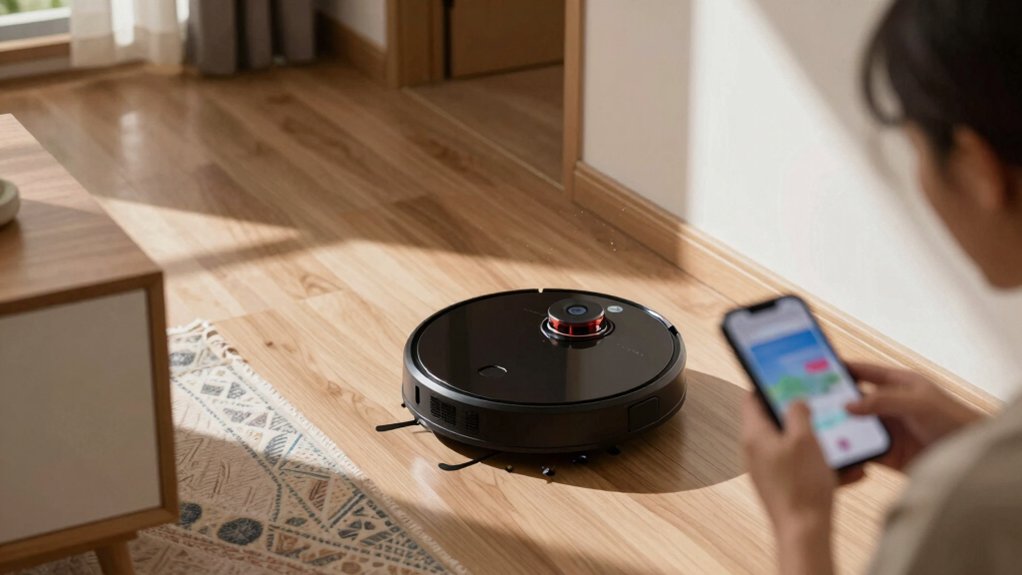
Once you’ve completed a clean mapping run and verified the map, keep firmware and app versions up to date to maintain navigation accuracy and access mapping improvements. Manufacturers (Roborock, Ecovacs) regularly release updates that refine sensor fusion, obstacle detection, and map-saving logic. You should update firmware via the app to ensure firmware compatibility and improved sensor diagnostics.
If mapping drifts, follow a controlled delete-remap sequence and verify in a single uninterrupted session under good lighting.
- Delete current map, confirm deletion in the app, then start remap in one continuous run; verify the new map before saving to avoid partial data.
- If remap fails or persistent drift remains, perform a factory reset to restore default calibration; re-update firmware and run sensor diagnostics after reset.
- Maintain app updates for remote tools and logs; use diagnostic logs to confirm sensor fusion behavior and to decide if further resets or support escalation are needed.
If Maps Still Fail: Hardware Workarounds and Environment Fixes
If maps still fail after software steps, focus on hardware and environment: clean LiDAR and optical surfaces (top and sides), stabilize or anchor the dock to prevent shifts on carpet, remove reflective or cluttered obstacles, and remap after relocating the robot to change routing order. These actions directly address sensor contamination, reference-point instability, and environmental features that commonly corrupt SLAM and map alignment.
You’ll start with a visual and microfiber wipe of circular LiDAR and side sensors to eliminate dust and smudges that produce false returns. Check dock placement and anchor or weight it so carpet movement doesn’t shift the reference point between runs. Reduce mirrors, glossy floors, and loose clutter that create spurious features. Run incremental remaps after you adjust layout.
If you’re testing nonstable releases, proceed cautiously: some beta firmware quirks can improve mapping, but they may introduce regressions. Document behavior and revert if unstable. These systematic hardware and environment fixes target persistent mapping failures originating from hardware flaws or scene artifacts.
When to Call Support : What Logs, Photos, and Steps to Include
When should you call support: Call them after you’ve reproduced the problem reliably and collected a focused packet of evidence that lets technicians recreate the symptom without guesswork. You’ll request support escalation for persistent mapping issues only after you’ve confirmed repeatable failure modes and gathered logs, photos, and a short video. Include device model and firmware, exact map behavior (diagonal drift, lost docking, circular wandering), timestamps, and error codes.
- Logs: Export map save timestamps, before/after local maps, app error codes, cliff detections. Attach a 30–60s video showing the navigation path and dock behavior.
- Photos: High-resolution images of dock placement, floor conditions, LiDAR housing, side/top sensors, and any visible dust/obstructions.
- Reproduction steps: Give a concise, ordered sequence (room selected, start location, deliberate moves or lifts) that reliably recreates the symptom. This will allow technicians to simulate it during support escalation.
Frequently Asked Questions
How Do Multi-Floor Maps Interact With Virtual No-Go Zones?
Multi floor mapping keeps virtual no go zones tied to each specific floor map, so your vacuum applies restrictions only on the active map. You’ll create or edit virtual no go zones per floor; they don’t automatically propagate across floors.
When you switch maps, the device loads the corresponding multi floor mapping data and enforces that floor’s virtual no go zones. You can duplicate zones manually if you need identical restrictions.
Can Mapping Errors Affect Scheduled Cleaning Routines?
Yes, mapping errors can cause scheduled disruptions. You’ll find that incorrect features in multi floor maps or misplaced virtual no go zones lead the robot to reroute, stall, or skip areas during automated runs.
You should audit maps before relying on schedules. Correct misaligned landmarks and update virtual boundaries per floor. Implementing verification steps and fallback behaviors reduces disruptions; this ensures scheduled cleaning completes reliably across floors.
Will Pets or Children Moving During Mapping Corrupt the Map Long-Term?
Yes, pets moving or children moving during mapping can corrupt the map long-term if the robot logs transient obstacles as permanent. You should run mapping in controlled conditions, pause or restrict traffic, and enable dynamic obstacle filtering if available.
After initial mapping, validate and edit the map; remove spurious landmarks, and remap problem zones. Regularly update maps when layout changes occur to prevent persistent errors from temporary movement.
How Do Magnetic or RF Interferences Impact Lidar Mapping?
Magnetic interference generally won’t affect LiDAR since it uses laser time-of-flight; however, it can disrupt wheel encoders or compasses that aid SLAM, causing drift or misalignment.
RF interference can jam wireless sensors or corrupt data links to mapping processors, introducing packet loss or latency that leads to incomplete scans or temporal misregistration. You should diagnose by isolating sources, logging error rates, and testing mapping stability with and without suspected magnetic or RF interference.
Can Third-Party Replacement Batteries Cause Mapping Issues?
Yes, third-party replacement batteries can cause mapping issues. You will see degraded mapping stability if batteries emit electromagnetic noise or alter grounding; this creates accessory interference with lidar and IMU sensors.
You should test sensor calibration after installing any non-OEM battery. Run factory calibration routines and monitor pose drift, waypoint errors, and map anomalies. If problems persist, revert to the original battery or use certified replacements designed to meet the vacuum’s electrical specifications.
Conclusion
You’ve now got a structured checklist to diagnose and fix mapping failures: try quick fixes first, verify dock placement and obstacles, keep LiDAR, cameras, sensors, and wheels clean, and run a controlled mapping session. Additionally, update firmware or app.
If maps still fail, use hardware workarounds or adjust the environment. When contacting support, include logs, photos, and steps taken.
Follow this decision sequence systematically before remapping or factory resetting to save time and avoid unnecessary repairs.