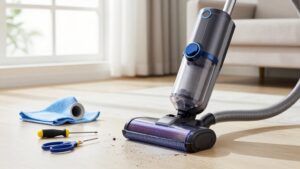
How to Remove Hair From a Vacuum Brush Roll: A 5-Minute Cleanout Method
To remove hair from a vacuum brush roll, unplug the vacuum or remove its battery, then lay it on a towel.
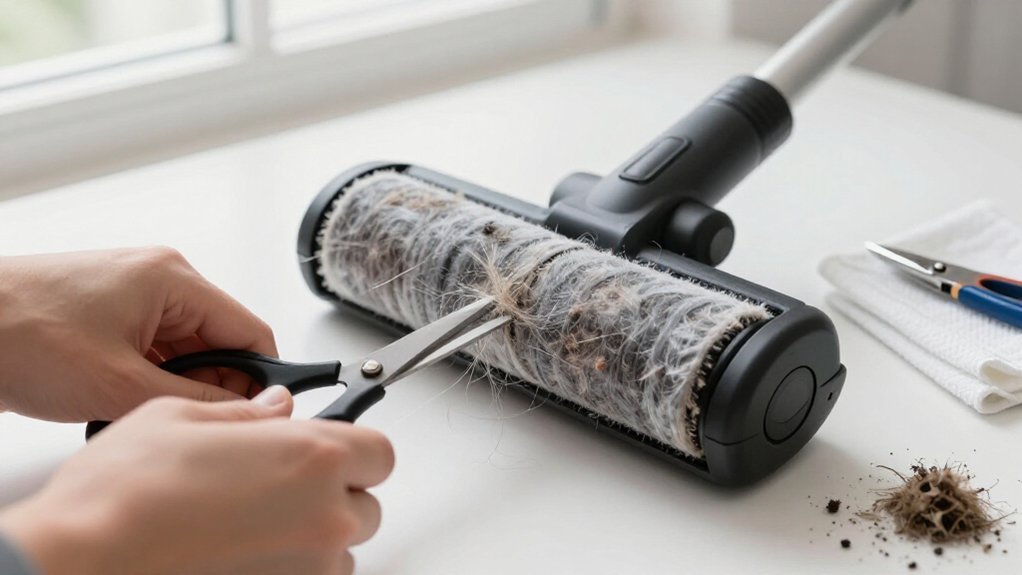
Open the brush head, noting the roll’s orientation. Use a capped seam ripper only when ready, cutting wrapped hair along the groove without nicking bristles.
Pull strands away with tweezers, clear housing debris, and reinstall the roll. Spin it by hand; stop if it binds, turns slowly, or smells hot.
The following covers troubleshooting.
Five-Minute Brush Roll Cleanout
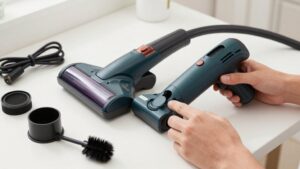
Start by switching off and unplugging the vacuum, or removing its battery, then turn it over and remove the bottom plate. You’ll release the clips or screws, slide the brush roll out carefully, and note its drive-end orientation before proceeding. Inspect the roller for wrapped hair, then peel away loosened strands and lint by hand, working around the full length.
Use an old toothbrush or small cleaning brush on both ends, bearings, and end caps. Clear compacted fibers from the shaft and drive area; resistance there can cause slippage, wobble, or a stalled roller. Rotate the roller manually to verify free movement before reinstalling it with the cover.
Secure every clip or screw, reconnect power, and briefly test the brush. If jammed, reopen the housing.
Gather a Seam Ripper
Gather a seam ripper with a 2, 6 mm blade, pointed tip, protective cap, and textured handle. Choose a sturdy metal blade that won’t bend when you work through dense wraps. Its forked tip slips beneath hair, while the sharp inner edge cuts along a groove without catching bristles. Keep checks in mind:
- Confirm the blade fits between bristle rows and follows the roller’s groove.
- Select a rubberized handle for controlled twisting and short, repeated cuts.
- Keep the cap on until you’re ready, and replace it immediately afterward.
Don’t substitute a knife; it offers less control near end caps and bearings. If your manual prohibits sharp tools, use the recommended silicone or rubber cleaner instead.
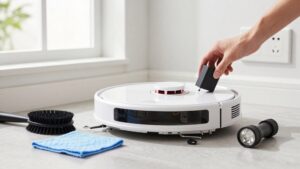
Avoid models with brittle blades, oversized tips, or no guard. Pair the ripper with tweezers or needle-nose pliers, a small brush, gloves, and a microfiber cloth for controlled fiber removal.
Step 1: Lay the Vacuum on a Towel
Before opening the brush head, turn off and unplug the vacuum, then lay it on its back on a towel with the brush-roll side facing up. Use a towel to protect the floor and stabilize the housing while you work. Position the vacuum so the roller remains level and fully visible; this makes wrapped hair, loose threads, and debris easier to locate.
Keep the towel underneath the brush-head area. It’ll catch material that falls when you open the housing, preventing debris and simplifying cleanup. If the vacuum shifts, reposition it before continuing rather than forcing access at an awkward angle.
Keep the towel nearby as you cut and remove hair. When cleaning ends, wipe remaining lint from the brush head and surfaces before reassembly.
Step 2: Check for Retaining Clips
With the vacuum unplugged, or its battery removed, inspect the flat cleaner head for retaining clips, latches, or snap tabs on the brush-roll end caps. Look for arrows or labels showing the release direction. Before touching the roller, record which side contains the drive gear and note the roller’s orientation; this prevents incorrect reassembly.
If clips are visible, press or slide each one as its markings direct. Don’t pry against the housing or apply force; resistance can indicate a missed latch or trapped debris. If you can’t identify the release mechanism, consult the model’s manual rather than guessing.
Confirm retaining points have disengaged before you handle the brush roll for hair removal. Keeping clips intact and aligned will reduce noise and prevent slippage.
Step 3: Remove the End Cap
Once the retaining clips or latches are disengaged, remove the end cap using the marked release direction or the correct screwdriver for your model. Before handling the assembly, unplug the vacuum or remove its battery. Support the roller and pull the cap straight off. If it resists, stop and verify that you’ve released every latch instead of forcing the housing.
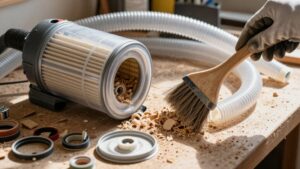
Keep screws, bearings, and washers in a small tray. Note the cap’s orientation with a quick photo or mark so you’ll reinstall it correctly.
With the retainer removed, lift or slide the brush roll far enough to expose its ends, following your vacuum’s design. Don’t twist the drive gear or strain the bearing. Inspect the exposed area for packed fibers, damage, or debris.
Step 4: Slice Hair Along Groove
If the vacuum is unplugged and the brush roll is accessible, position the seam ripper at the groove where the bristles meet the roller housing. Keep the needlelike tip angled into the wound hair, not toward the bristles. Slice along the groove from one end of the tangled section to the other, using short, controlled strokes. Don’t force the tool; dense resistance means you should reposition it rather than pry against the roller.
After completing the cut, lift loosened hair by hand. Work around the roller, repeating the same path wherever wraps remain. If hair won’t release, make another shallow pass instead of pulling hard. Reinstall the roll in its correct orientation, then spin it briefly by hand. Smooth rotation confirms no snag remains.
Step 5: Inspect Bristles for Hidden Strands
After cutting away the main wraps, unplug the vacuum and inspect between the bristles with your fingers or a flashlight. Trace each bristle row, checking roller seams where hair can curl inward and remain concealed. Examine both ends, especially around the end caps, because long strands often tighten there. Pull away loose fuzz first, then scan the same line again for thin, thread-like hairs.
Rotate the roller gently by hand while the vacuum remains off. Watch for bristles that snag or tug hair back, signaling embedded strands or compacted mats of pet fur and human hair. Remove material carefully, then rescan circumference. If rotation feels uneven, inspect again. The roller should turn smoothly, with no clumps or fibers anchored between bristles before reassembly.
Step 6: Vacuum Debris From Housing
With the vacuum unplugged or its battery removed, take out the brush roll using the model’s release clips, latches, or screws. Slide the roll out and set it aside, noting its drive-end orientation for reassembly. Inspect the housing, roller tracks, corners, and end-cap recesses for packed hair, dust, and lint. Use a cleaning brush or old toothbrush to loosen embedded debris without forcing bristles against seals or wiring.
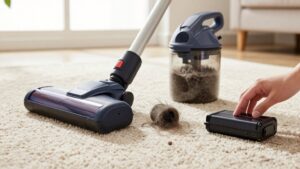
Direct a crevice tool into the housing to vacuum loosened material, or wipe it out with a microfiber cloth. Pay particular attention to debris near the drive shaft, where buildup can cause slippage, noise, or motor strain. If airflow remains weak, check passages and filters. Refit the brush roll only after the housing is clear.
Spin Roll by Hand
Once the housing is clear, unplug the vacuum or remove its battery and position it for safe access to the brush roll. Gently rotate the roll by hand, keeping fingers clear of pinch points. Observe whether it turns evenly, and identify where hair catches or the roll stops.
When you feel resistance, stop immediately. Forcing the roll can tighten the wrap around bristles, shaft, or drive end, making removal harder. Use your fingers to loosen visible hair at the snag point; don’t pull aggressively or twist the assembly.
Rotate the roll again with short, controlled movements. If it now spins freely, inspect its full circumference for more catches. If it still won’t spin freely, stop and cut the wound hair away with scissors.
Check for Burning Odor
A burning or hot-plastic odor usually means hair is stopping the brush roll and causing the motor to overheat. Turn the vacuum off immediately, unplug it, or remove its battery before touching the brush. Don’t run it “just to finish”; continuing operation can worsen the jam and damage components.
| Odor or finding | Action |
|---|---|
| Burning smell | Stop, unplug, and inspect the roll. |
| Tight hair wrap | Cut away segments and remove them. |
| Odor persists | Stop use; check the belt, gearbox, or motor. |
| No odor after clearing | Reassemble only when the roll spins freely. |
After clearing the wrap, inspect the drive end for fibers and heat damage. If roll binds or smell returns, stop and arrange repair; a jammed gearbox or damaged motor may be involved.
Schedule Monthly Brush Checks
Check the brush roll at least once a month, or sooner if you have pets or long hair. During each check, inspect the roller, grooves, and end caps for wrapped strands. Friction and rotation can pull hair tightly against these areas, creating a developing jam.
If the roll turns slowly or carpet pickup drops, treat the issue as a restriction and clean it immediately. Unplug the vacuum before opening the housing, then cut and remove hair without damaging bristles. After cleaning, reinstall the roll in its original orientation and confirm that it spins smoothly.
Homes with frequent shedding should perform quick spot checks every few uses, while retaining a full monthly inspection. Use a calendar reminder with filter washing to maintain this schedule.
Conclusion
With the brush roll clear, you’ve removed the main cause of reduced pickup and strain. Reinstall the end cap and retaining clips securely, then spin the roll to confirm it turns freely. If it still binds, smells hot, or makes unusual noise, stop using the vacuum and inspect the belt, bearings, and housing.
Wipe the area clean, test briefly on a safe surface, and schedule monthly checks. That routine prevents buildup from returning quickly again.