Central Vacuum Hose Compatibility Guide: Match the Right Length and Fitting
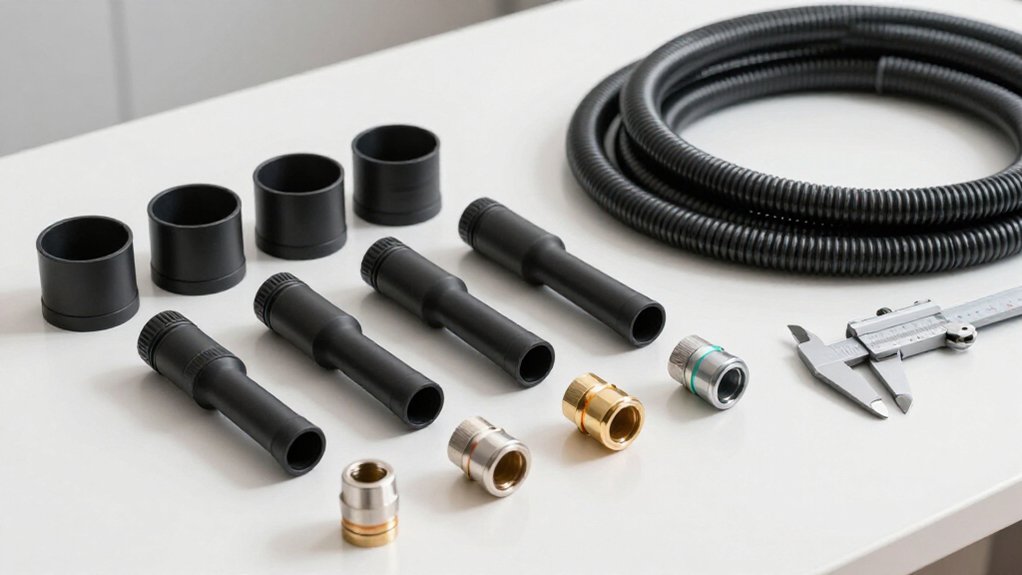
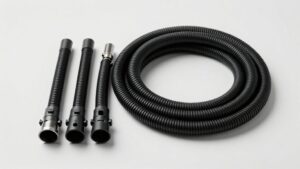
To match a central vacuum hose, measure from the inlet to your farthest cleaning point, then add 5–8 feet for stairs and furniture.
Choose 30 feet for homes up to 3,000 square feet or 35 feet for reach, but verify OEM airflow limits.
Match the 1.25–1.375-inch diameter and fitting profile, not merely the inlet opening.
Confirm sealing, pin count, and pigtail or direct-connect wiring before ordering.
Checks below help you avoid leaks and compatibility failures.
30-Foot vs. 35-Foot Hoses
Choosing between a 30-foot and 35-foot central vacuum hose depends primarily on your home’s size and the distance from each inlet to the farthest cleaning area.
For homes up to about 3,000 square feet, choose a 30-foot hose. Its lower weight improves maneuverability around corners and reduces fatigue during routine cleaning. For homes larger than 3,000 square feet, choose a 35-foot hose to cover more floor area from the same inlet without relocating to another wall connection.
Measure from the inlet to the farthest point, then add 5–8 feet for stairs, furniture, and vertical reach. If you’ll clean multiple rooms from a single inlet or navigate obstacles, choose 35 feet for extra slack. When you’re unsure, the longer hose generally reduces repositioning and keeps cleaning efficient.
Length–Fitting Compatibility Matrix
Once you’ve selected a 30- or 35-foot hose, match its length to the fitting profile and hose diameter, not just the inlet opening. Use this matrix before ordering. Measure hose ID and the inlet’s outer adapter profile, then verify the OEM specification. Keep 30–35 feet within 1.25- to 1.375-inch systems unless the performance chart approves more length. Choose 1.5-inch hose for heavier debris; reserve 2.5-inch and larger sizes for shop or industrial equipment.
For retractable systems, follow specified replacement dimensions to prevent drag and failed retraction.
| Length | Compatibility check |
|---|---|
| 30 ft | 1.25–1.375 in; residential, verify profile |
| 35 ft | 1.25–1.375 in; confirm airflow rating |
| 40–50 ft | 1.375 in retractable; follow OEM limits |
If measurements conflict, don’t force the connection; select a tested adapter and recheck sealing.
Pigtail vs. Direct-Connect Terms
Pigtail hoses use a separate short power cord that plugs into a standard electrical outlet, while direct-connect hoses plug into a wall inlet designed to provide suction and, when applicable, electrical power. Match the style to your inlet and equipment. A pigtail powers electric tools through its cord. A direct-connect system carries suction and low-voltage or electric power through the inlet connection.
Before replacing your hose, determine whether you need suction-only or electric service. Confirm that the wand and tool connection supports the expected power path. An incorrect style can leave the tool unpowered, reduce performance, or create safety concerns.
If you’re unsure, inspect the wall inlet and compare its profile with the hose listing. Record your hose model label or measure its fitting.
Handle Height and Switch Placement
Choose a handle height that keeps the wand in an ergonomic position for your stance and cleaning motion. Compare switch placement types, ensuring power controls remain finger-accessible without changing your grip.
Match the handle and wand profiles to maintain a secure connection and comfortable reach.
Handle Height Options
Your handle height determines where the on/off switch sits during use, so measure your typical posture—standing upright or slightly bent—before selecting a configuration. If your hose offers adjustable or alternative-height handles, choose the height that places the switch within easy reach in your normal stance. Taller configurations generally position the switch higher, which can suit stair cleaning and high furniture. Confirm that the handle, hose end, and inlet remain compatible; matching suction fittings don’t guarantee matching handle controls.
For reach planning, add approximately 5–8 feet for stairs, couch height, and other vertical obstacles before choosing hose length. Then select the handle height that keeps the switch accessible without looking down or twisting your wrist. If you’re uncertain, compare handle layouts within one system.
Ergonomic Wand Positioning
Set the wand so the handle and switch sit around waist-to-hip height, keeping your wrists neutral and your shoulders relaxed. This position lets you guide the wand without lifting your shoulder or bending your wrist.
Adjust the wand length and grip until the cleaning head tracks smoothly across the floor, and maintain that height through each pass.
Keep the switch within easy finger reach so you’ll press it without releasing or shifting your steady grip. This preserves control and reduces hose drag caused by repeated hand repositioning.
When reach is close, choose a 35-foot hose instead of a 30-foot model. Measure from the inlet to the farthest point, then add 5–8 ft for stairs and furniture height.
Longer hoses maintain wand angle and handle height.
Switch Placement Types
Handle-mounted switches typically sit near the grip for thumb access, while wand-mounted controls may be positioned higher and require more reach. Your handle height affects posture, especially on stairs or around vertical surfaces. A higher control position can make you lean, so test the complete hose, wand, and powerhead assembly.
Add roughly 5–8 feet to your measured route for stairs, furniture, and obstacles; a 30-foot hose suits smaller homes, while a 35-foot model offers greater reach. Longer hoses can change the control’s position relative to your body.
Confirm that an electric hose carries power and low-voltage continuity through the compatible inlet, handle, and wand. Suction-only systems use different integration. Match the hose and adapter profile, then verify secure connections and comfortable switch height.
Finger-Accessible Power Controls
Choose a handle with on/off or speed controls positioned beneath your naturally resting index finger, so you can operate them without changing your grip. Check the handle while standing, climbing stairs, and reaching across furniture. Your operating height changes your wrist angle and finger position, so verify that the controls remain reachable at the farthest comfortable reach.
For a powered head, select an electric hose with compatible low-voltage conductors and handle circuitry. A standard hose or non-electric extension can interrupt continuity, leaving the buttons ineffective. If buttons feel awkward, don’t assume wear caused the problem. Confirm that the handle belongs to the hose family and that its control layout suits your grip. Test operation; you should switch power without repositioning your grip during use.
Matching Handle And Wand
When matching a central vacuum handle and wand, verify that the handle height, switch placement, and wand angle fit your natural grip and operating posture. You shouldn’t need to bend, overreach, or rotate your wrist to access on/off, speed, or wand-trigger controls.
If you use an electric hose or powerhead, confirm that the handle, hose, and inlet maintain electrical continuity for every control.
Match the wand’s neck and locking mechanism to the powerhead or floor tool; a loose press fit can cause separation, air leaks, or poor tool control. Also check the hose-to-handle connection, whether direct-connect or pigtail, and keep the handle aligned with your preferred angle. Measure reach from the inlet, including stairs and furniture gaps. Add hose length if switch access requires overstretching.
Verify Inlet Diameter First
Before ordering a replacement hose, identify the wall inlet’s connection style and measure its opening, including the inside diameter where the hose cuff seats.
Determine whether the inlet accepts a direct-connect hose or requires a pigtail adapter, and note whether it supplies low-voltage power.
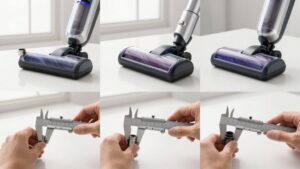
Measure the existing cuff’s outside and inside diameters with calipers when possible; labels such as 1.25-inch or 1.375-inch aren’t standardized across manufacturers. Compare your measurements with the replacement’s published specifications and verify the plug profile, not just the nominal size.
If you’re replacing an electric hose, confirm matching inlet contacts and wiring for handle and powerhead controls. Don’t order until diameter, connection style, and electrical requirements agree; an incorrect match can prevent seating, create air leaks, whistle, and reduce suction.
Inspect for Cracked Cuffs
Inspect both hose cuffs—the flared ends that connect to the wall inlet and wand—for hairline cracks, splits, loose rubber, flattening, or other deformation. Examine the areas that bend and flex during use and storage, especially where you drag the hose around corners or compress it while coiling. A damaged cuff can still appear to fit, but its compromised seal lets air escape, often producing a whistle and reducing airflow through the hose.
Insert each end squarely and confirm that it seats fully and evenly; a skewed connection can worsen leakage and accelerate wear. Don’t rely on tape or patching to repair fractured cuff material. Replace the hose when either cuff is cracked, distorted, or loose. An intact replacement preserves consistent suction performance.
Low-Voltage Switch Testing
To test the low-voltage switch, disconnect the hose from the wall inlet and set a multimeter to continuity mode. Touch the probes to the switch leads, then press the handle switch. Confirm the meter indicates continuity when pressed and opens when released. This verifies the low-voltage contact that lets the wall inlet activate the control circuit.
Keep the hose disconnected during testing and avoid applying power to the circuit.
If the switch shows no change in either position, the handle contact is likely stuck or broken. Replace it according to the manufacturer’s procedure. If the switch tests correctly but the unit doesn’t respond, check continuity through the hose’s control wiring between the handle and inlet.
Electric hoses must match the inlet’s low-voltage type specification.
Clear Debris From Wand
Clear the wand and hose connection whenever suction drops at the nozzle. Detach the wand or floor attachment, if possible, and inspect its bore and the hose opening. Dust, hair, and small debris often collect at this interface, restricting airflow or causing whistling. Don’t assume a kink means the hose is worn.
- Look through the wand; remove visible material without damaging the passage.
- Check the intake screen and hose-end opening for packed debris.
- Use a suitable flexible tool or gentle suction to dislodge blockage.
- Reconnect the wand fully, then test suction at the nozzle.
An improperly seated connection can still limit airflow after you clear the obstruction, so verify a snug, leak-free fit before continuing. This check helps restore performance without replacing compatible components.
Count Hose Connector Pins
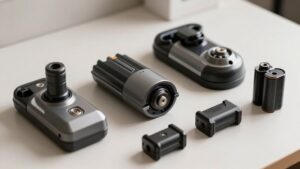
After clearing the wand and checking its fit, count the connector pins at the hose or wand end. Expose the connector fully; remove its cap if a recessed channel hides the contacts. Count both power and control pins, then compare their number and layout with the wall inlet.
If you’re matching an electric wand or powerhead, verify that its wiring contacts align with the hose pins, not merely that the fittings connect. An incorrect arrangement can prevent the switch or powerhead from receiving power and may damage components. Record the details before ordering:
- Write down the pin count.
- Photograph the pin layout clearly.
- Match the exact hose family.
- Avoid forcing mismatched connectors; use the manufacturer’s adapter or replacement part.
Conclusion
Choosing the right central vacuum hose depends on more than length. Confirm your inlet diameter, connector style, and pin configuration before ordering, then match the hose to your handle, switch, and wand. Compare 30-foot and 35-foot reach against storage and cleaning needs.
Inspect cuffs and test low-voltage continuity before use. If the hose fits securely, switches reliably, and clears debris freely, you’ll get consistent airflow and avoid unnecessary replacement costs and prevent frustrating installation mistakes.