Robot Vacuum Leaves Debris Along Edges Troubleshooting
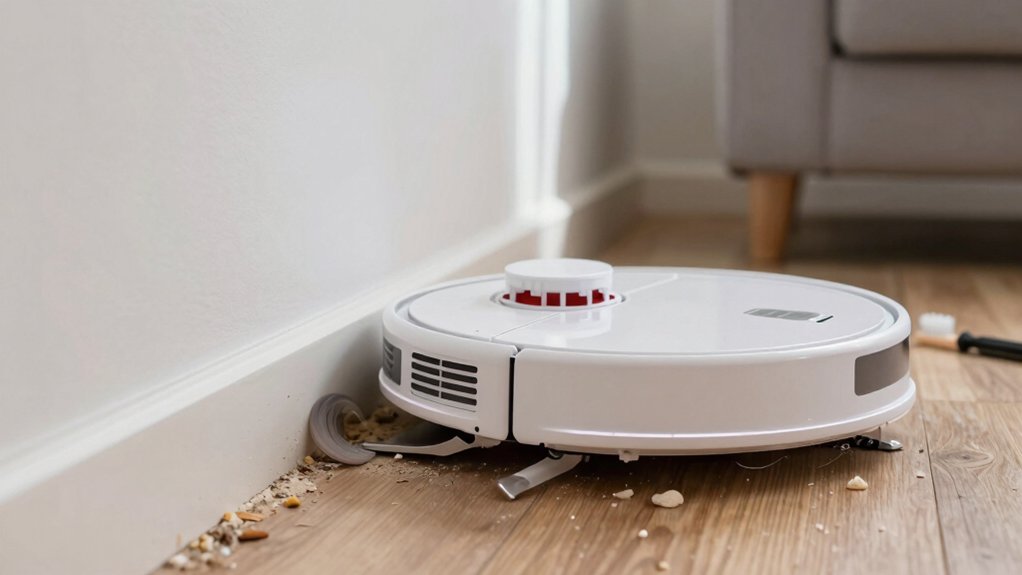
If your robot vacuum leaves debris along edges, start by checking side and edge brushes for wear, hair, or bending.
Clear the roller brush compartment of tangled fibers; reseat or replace brushes if they don’t spin freely.
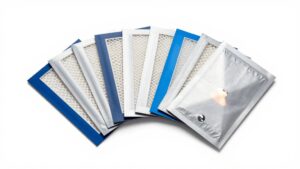
Inspect the dustbin foam seal and dust path for gaps or debris, and confirm seals sit flush.
Verify wheels, bumper, and navigation so the bot makes solid edge contact.
Run focused edge passes at higher suction to test results.
Keep going to see full troubleshooting and maintenance steps.
Quick Overview
- Check and reseat the dustbin foam seal: ensure it sits flat and flush along the top edge with no gaps or tears.
- Remove hair and string from roller and side brush housings; cut tangles and clean posts and bearings.
- Inspect and replace worn side brushes, roller brushes, or seals promptly to restore consistent edge contact and pickup.
- Run a focused hard-floor edge pass at higher suction after reassembly. Adjust the app to an edge-focused or detailed-clean profile.
- Follow a regular maintenance schedule: inspect brushes, seals, thresholds, and navigation settings to prevent recurring edge debris.
Quick Fixes to Stop Edge Debris Now
Want to stop debris piling along baseboards right now? Start by checking the dustbin foam seal: remove and clean it, then reseat it so the foam seal sits flush on the top edge of the bin. Compare its edge alignment to a reference unit or a straight edge to confirm it’s even and not curled or compressed. Empty the dustbin and inspect the seal area for lodged debris that prevents a full closure.
Next, clear the roller brush compartment of hair and string; use a fine tool to remove debris under the gray bearings to restore edge-cleaning effectiveness. Wipe surrounding seals and re-seat them. A dirty or partial seal will spill dirt at thresholds. After reassembly, run a thorough cleaning pass on hard floors at a higher suction setting to verify debris no longer deposits along edges.
If you still see buildup, repeat the seal and alignment check before moving to deeper inspection.
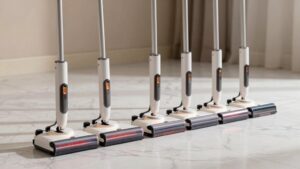
Inspect Side Brushes, Edge Brushes, and Brush Housing
Now check the side and edge brushes and their housing, since seals and rollers only solve part of the problem. Inspect edge brushes and side brushes for wear, bending, or hair buildup that stops bristles from reaching the baseboard line. Manually spin each brush to confirm it turns freely. Feel for stiff spots or obstructions that indicate trapped threads or damaged bearings.
Open the brush housing and remove visible hair around the post and bearing. Clean the inlet area behind the brushes so dust doesn’t redirect toward walls. Use compressed air or a thin tool to clear the brush posts and housing crevices. Then wipe away residue.
If a brush no longer contacts the floor consistently or fails to sweep debris into the main path, replace it. Reinstall brushes so they sit squarely in the brush housing and test along an edge. Proper contact and free rotation are essential to stop debris from accumulating along walls.
Check Dustbin Seal and Dust Path for Leaks
How tightly does the dustbin seal sit against the bin mouth? Check the foam dustbin seal first: it must lie flat, flush, and fully reseated. A loose or misaligned seal opens a dust path that sprays debris when the bot crosses thresholds.
- Inspect: Remove the bin and examine the foam. Look for gaps, tears, or hair/string caught in the seal area that prevent an even contact.
- Compare & realign: Use a functioning unit or reference image to verify the seal sits evenly along the top edge. Press and reseat the foam so it’s uniform around the bin mouth.
- Clear & test: Remove any debris in the dustbin and adjacent dust path. Then run the vacuum over an edge to confirm no new traces appear.
You’ll prevent most leakage by keeping the seal clean and correctly seated. Small buildup or misalignment is the usual cause of edge debris.
Remove Hair and Clear the Roller Brush Compartment
Looking for hair and string wrapped around the roller brush? Check the roller compartment immediately. You will prevent edge debris lines by removing tangled fibers before they block suction or rotate unevenly.
Power down the robot, flip it over, unlatch the brush cover, and lift the brush straight out. Use scissors or a cleaning tool to cut and pull hair and string from the brush ends, bearings, and inside the roller compartment. Inspect the dustbin seal and foam seal around the intake; make sure both sit flat and aren’t displaced by stray fibers. Clear any debris collected near the seals so small particles can’t leak at edges.
Wipe the roller compartment and brush housing with a dry brush or cloth; avoid wet cleaners unless the manufacturer allows them. Reseat the brush, snap the cover closed, and run a short test sweep to confirm the vacuum picks up along thresholds evenly and no residual edge debris remains.
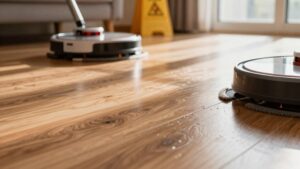
Want to see if navigation or chassis issues are causing edge streaks? Test navigation, wheels, and the bumper methodically to restore proper edge contact and pickup. Run a defined edge trial and watch where debris deposits.
- Inspect wheels and bumper: Check for wear, debris, and wheel alignment. Clean wheel hubs and bumper contact points so the chassis tracks evenly along thresholds and walls.
- Observe edge runs: Run the vacuum along a straight seam and note whether debris consistently collects at the seam instead of entering the bin. Confirm the side brush spins freely and isn’t bent.
- Verify navigation behavior: Confirm map settings or no-go zones aren’t forcing the unit to skim edges. If the robot avoids boundaries, it may never make solid edge contact.
Make adjustments or replace worn parts if you see misalignment or sluggish brushes. Repeat the edge test until debris transfers reliably from edge to center and into the dust bin.
Adjust App Settings and Run Focused Edge-Cleaning Tests
With wheels, bumper, and brushes checked, adjust your robot’s app settings and run focused edge-cleaning tests to confirm changes improve pickup. Change to a Detailed Clean or Custom profile. Enable Automatic cleaning preferences that boost edge coverage, and reduce navigation speed if available. Clear hair from side brushes before tests so mechanical issues don’t skew results.
Run a focused edge pass along door thresholds and hard-floor-to-carpet transitions. Watch debris behavior and note whether particles transfer to the bin or remain at the edge.
| Test area | Expected action | Observation |
|---|---|---|
| Baseboard edge | Run slow edge pass | Debris moves inward |
| Threshold | Cross slowly | Debris lifted onto rug |
| Corner | Circle twice | Debris collected |
| Hallway edge | Repeat path | Compare bin fill |
| Before/After | App adjustments | Improvement logged |
Re-run the identical path after app adjustments and compare results. If pickup improves, keep the new profile; if not, iterate settings or inspect brushes again.
Reseat Seals and Replace Worn Brush or Seal Parts
How will you know if a leaking or worn seal is the culprit? Inspect the foam seal around the dustbin opening and the rubber seal at the dustbin mouth for gaps, compression, or misalignment. Reseat seals so they sit flat and flush with the top edge; compare to a reference image or a known-good unit to confirm alignment.
- Remove the dustbin, clear debris from the roller brush compartment, and reseat seals firmly. Hair and strings often stop seals from seating properly.
- If the rubber or foam shows cracks, thinning, or won’t sit flush, replace worn parts. A compromised seal will let dirt escape at thresholds.
- After reseating or replacing worn parts, clean the dustbin area and surrounding seals thoroughly to remove residual debris that can redeposit along edges.
Work methodically: inspect, reseat seals, and replace worn parts only when necessary to restore a proper seal and stop edge deposits.
Maintenance Schedule and Habits to Keep Edges Clean Long-Term
When will you check seals and brushes? Set a routine after each cleaning cycle: remove hair and debris from edge areas, roller compartment, and side brushes. You’ll wipe the dustbin seal, reseat the foam firmly, and compare top-edge alignment to a reference photo or another unit to ensure a flush fit. These habits reduce redepositing and long-term debris lines.
| Task | Frequency | Purpose |
|---|---|---|
| Remove hair from brushes | After every cycle | Prevent hair buildup pushing debris to edges |
| Wipe/reseseat dustbin seal | Weekly | Prevent leaks and redeposition at thresholds |
| Inspect seal alignment | Monthly or after impacts | Verify top edge sits flush for edge maintenance |
| Clean roller compartment | After every cycle | Remove trapped debris that causes lines |
Also confirm each brush spins freely. Replace worn brushes or seals promptly. Follow this methodical schedule for consistent debris prevention and cleaner thresholds between hardwood and carpet.
Frequently Asked Questions
Can Low Suction Power Cause Edge Debris Accumulation?
Yes, low suction can cause edge debris to accumulate. You’ll notice the vacuum won’t pick up heavier crumbs or fine dust along baseboards because reduced airflow lowers brush and suction effectiveness.
Check filters, brushes, and suction inlet for clogs. Replace worn belts or filters. Increase suction settings if available, empty the bin regularly, and run the vacuum slowly along edges or use spot-clean mode to improve pickup.
Can Carpet Edges Block Debris From Reaching the Dustbin?
Yes, carpet edges can block debris reachability to the dustbin. You’ll find fibers, raised edges, or fringe trap particles before the brush or suction grabs them.
Check pile height and transitions, trim stray fibers, and reposition edges away from the vacuum’s path. Adjust brush height and increase suction if possible. Test with a coin or paper strip to confirm pickup. Then run the vacuum and reassess debris reachability.
Do Magnetic Strips or Boundary Markers Affect Edge Cleaning?
Yes, they can. You’ll notice magnetic interference can disrupt sensors, causing the vacuum to avoid or misjudge edges. Boundary marker confusion makes the robot treat edges as off-limits. Therefore, it won’t run contact maneuvers that sweep debris into the intake.
To fix this, reposition or disable strips, recalibrate the robot, and test edge mode. Keep markers clear of sensor lines and follow manufacturer spacing guidelines to restore proper edge cleaning.
Can Scheduled Cleanings Influence Debris Buildup Along Walls?
Yes, scheduled cleaning can influence edge debris. If you set scheduled cleaning too infrequently or at inconvenient times, debris accumulates along walls before the vacuum runs. More frequent, well-timed scheduled cleaning reduces buildup and keeps edge debris minimal.
Also, schedule during low-traffic periods and after peak dirty activities. Combine consistent schedules with occasional manual edge passes or targeted spot cleans to prevent persistent residue along baseboards and corners.
Is Firmware Affecting Side-Brush Timing or Edge Routines?
Yes, firmware can affect side-brush timing and edge routines. You’ll see firmware timing changes alter when and how long the side brush runs. Updated edge routines can change pathing, brush behavior, or suction timing near walls.
Check release notes, update firmware, and test before and after. If problems persist, reset settings or contact support with logs so engineers can verify firmware timing and edge routines aren’t causing the residue.
Conclusion
You’ve got targeted steps to stop edge debris: check and clean side/edge brushes and their housing, clear hair from the roller and dust path, inspect seals for leaks, and confirm wheels, bumper, and navigation let the robot reach edges.
Reseat or replace worn brushes and seals, tweak app edge settings, and run focused edge tests. Keep a simple maintenance schedule: weekly brush checks and monthly seal inspections to prevent debris buildup long-term.