Shop Vac Won’t Turn On? 9 Troubleshooting Steps Before You Replace It
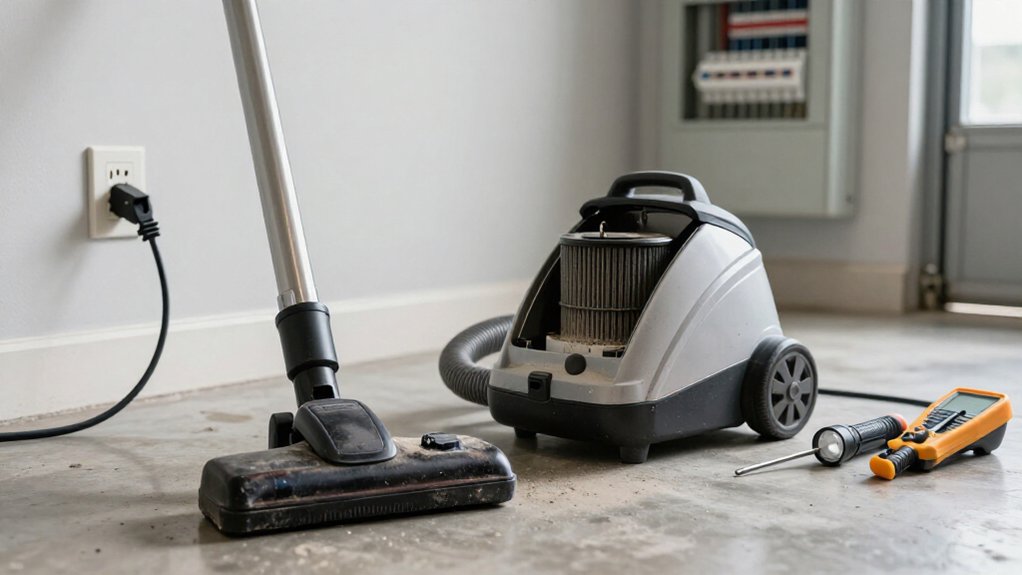
If your Shop-Vac won’t turn on, test the outlet with a lamp, reset any GFCI, and plug the vacuum directly into it. Remove extension cords and inspect the plug and cord.
Switch it off, unplug it, clear the hose, inlet, bin, and filter, then let it cool 30–60 minutes.
Remove the lid to check float-cage seating and obstructions. Verify airflow, inspect switch, brushes, melted motor connectors, and test continuity. Further checks can pinpoint the fault.
Shop-Vac Power-Restoration Estimate
Before you suspect the switch or motor, test the outlet with a known-good lamp; if the lamp stays dark, restore circuit power first. If the lamp works, switch the Shop-Vac off and let it cool for 34 to 40 minutes before you retry it. This interval gives a thermal protector time to reset after overheating.
Before restarting, clear airflow restrictions that could have triggered protection, including a blocked hose, inlet, or filter. Don’t cycle the switch while the motor remains hot; attempts can extend the fault or damage components. If the power indicator illuminates and then blinks without motor action, treat that pattern as evidence of a protection, interlock, or thermal-trip condition, not motor failure. After cooling and clearing airflow, test once.
Check GFCI and Cord
If the outlet tested good and the Shop-Vac still won’t start after cooling, check the GFCI and power cord next. Press Reset on the receptacle or upstream panel, then try the vacuum directly in the tested outlet.
Unplug the Shop-Vac before examining its cord and plug. Look for cuts, crushed sections, melted insulation, bent blades, looseness, or a burned odor. Don’t use damaged wiring.
- Remove any extension cord; undersized or long cords can cause voltage drop and nuisance trips.
- Test the outlet again with a lamp or plug-in tester.
- If the GFCI trips immediately, stop; a ground fault may exist.
- Use a multimeter for cord continuity only when you’re qualified.
Never bypass a GFCI or repair energized wiring. Replace damaged cord or plug promptly.
Step 1: Remove the Shop-Vac Lid
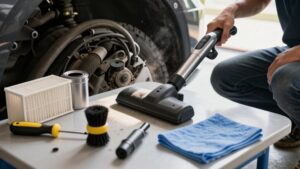
Unplug the Shop-Vac, then release the lid clamps or remove its fasteners to lift the motor head from the tank. Set the detached head on a clean, stable surface, keeping the power cord clear of water and sharp edges. If screws secure the lid, use the correct driver and place each fastener in a container. Don’t force a stuck clamp; check for remaining fasteners first.
With the lid removed, inspect the blower wheel and motor area for debris or damage that could prevent rotation.
Don’t power the unit. Prepare a multimeter for continuity testing. Disconnect the switch leads with power disconnected, then test the on-off switch in its ON position. An open or OL reading indicates a defective switch. Identify motor terminals for checks.
Step 2: Check Float Cage Seating
With the lid still removed, check that the float cage is seated squarely in its guides and isn’t tilted or partially dislodged. Unplug the Shop-Vac before touching the cage or inspecting its housing. Confirm the cage sits against its mounting points without rocking, cocking, or rubbing the body.
Look for dirt, liquid residue, or debris around the cage that could restrict movement or hold it out of position. Clear obstructions gently.
Gently move the cage through its travel, then verify that it returns to its resting position and doesn’t stick. Reinstall the lid only after the cage moves freely and remains seated. Plug the unit in and test it. If it runs normally, the cage caused the no-start issue, and you won’t need a replacement.
Step 3: Test the Thermal Overload
A Shop-Vac that runs briefly and then shuts off may have tripped its thermal overload. Unplug the vacuum and let it cool for at least 30–60 minutes before retesting. A timed reset may take 34 to 40 minutes, so don’t assume the protector has failed.
Before reconnecting power, empty the bin and clean the filter. Inspect the hose and inlet for blockages because restricted airflow commonly causes overheating. Restore airflow before you restart the unit.
After cooling and cleaning, plug it in and confirm that the motor runs normally. If the power light comes on, blinks, and the motor remains silent, the vacuum may still be in a protection or interlock state. If it won’t start, continue with power-path checks rather than replacing it.
Step 4: Test the Power Switch
Before opening the housing, disconnect the Shop-Vac from the outlet and reseat and inspect the plug and power cord. Don’t proceed if you find cuts, melted insulation, or burn damage. Remove the switch wires only after documenting their positions. Set your multimeter to continuity or the lowest ohms range, then touch one probe to each switch terminal.
Press the switch. A functioning switch should read closed, typically under 0.3 Ω. Release it; the display should show OL, indicating an open circuit. Repeat the test several times while watching for inconsistent readings. If the meter shows no continuity in either position, the switch is defective, so replace it. If it tests correctly, reinstall the wires and continue testing the next component in the power path.
Step 5: Inspect Carbon Brush Wear
Unplug the Shop-Vac and open the motor area to inspect the carbon brushes. Look for brushes that are very short, chipped, or unevenly worn; any of these conditions can cause a no-start. Check each spring: it should press the brush firmly against the commutator.
Weak tension can interrupt power even when the switch passes a continuity test.
Inspect the commutator for dark scoring, burned dust, or other arcing evidence. If your model permits, measure each brush and compare its length with the manufacturer’s minimum specification. Don’t operate the vacuum with brushes below that limit; sparking, low power, and overheating can follow. Replace worn or damaged brushes as a matched pair so contact remains consistent. Reassemble the motor area securely, then test the unit carefully.
Step 6: Stow Hose and Accessories
Start by stowing the hose and wand correctly so they don’t tangle, disconnect, or obstruct airflow. Before you troubleshoot the motor, coil the hose loosely without sharp bends and secure the wand and attachments in their designated holders.
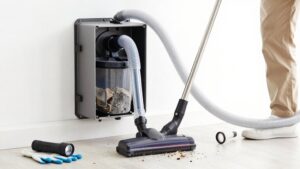
Check the tank for packed-in accessories, because hoses, nozzles, and filters often end up inside it after use.
At the tank inlet, push the hose fully into its port and confirm a snug fit. Seat the wand or attachment completely at the coupling; a loose joint can separate.
If you removed the filter or an attachment, reinstall it and keep it clear of the inlet path. Before switching on, inspect hose ends for lodged debris, verify no accessory remains inside the tank, and straighten a kink.
Check for Steady Airflow
With the vacuum unplugged, check the hose, wand, attachments, and inlet for clogs or restrictions that could disrupt airflow. Remove the filter and inspect it for heavy dirt or clogging. Clean or replace it, then reseat it securely. Examine the blower area and wheel path for debris or anything that could obstruct rotation.
Restart the vacuum after confirming airflow paths remain open. Observe suction: airflow should stay steady rather than pulse or weaken intermittently. An intermittent stream indicates a remaining restriction, a poorly seated filter, or another blockage requiring further inspection. If the vacuum ran and then stopped, overheating from restricted airflow may have tripped thermal protection. Allow it to cool completely; after clearing the restriction, a delayed restart can take roughly 34–40 minutes.
Inspect Melted Spade Connectors
If the Shop-Vac still won’t start, disconnect it from power and verify it’s completely de-energized before opening the housing. Inspect the motor’s spade connectors for melting, discoloration, looseness, or brown-black residue around a heat-stressed joint. A poor connection can interrupt current even when the switch works. Check adjacent wiring for hardened insulation or darkened copper strands.
| Finding | Action |
|---|---|
| Discoloration | Investigate overheating |
| Loose fit | Reseat firmly |
| Melted terminal | Replace it |
Don’t reuse melted terminals: heat-damaged metal and insulation can create intermittent contact or another failure. Reseat an intact connector firmly, then trace continuity with a multimeter from the switch to the motor connection. This confirms the connector isn’t the new open circuit. If the terminal won’t grip securely, replace the connector before reassembling the housing.
Clean Foam Sleeve Filter
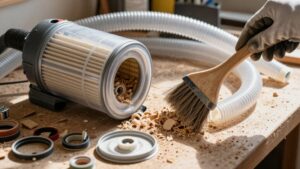
Once the electrical connections check out, inspect the foam sleeve filter for clogging, matting, or heavy debris that can restrict airflow and trigger overheating protection. Remove the filter from the wet/dry vac before cleaning it or reinstalling it. Rinse the sleeve thoroughly, then gently squeeze out excess water; don’t wring it aggressively.
Let it air-dry completely before you reinstall it.
Check the sleeve for permanent compression, tears, or debris that won’t release during cleaning. Replace it if damage remains, because a compromised filter can create gaps or disrupt the airflow path. Seat the cleaned sleeve over its support, ensuring it fits evenly without folds or openings. A seal helps maintain airflow and reduces motor heat. Test the vac after securing the cover.
Conclusion
If your Shop-Vac won’t turn on, work through these checks in order before you replace it. Confirm power at the GFCI and cord, then inspect the lid, float cage, thermal overload, hose, airflow, connectors, and filter.
Disconnect power before opening the motor housing or handling wiring. If you find heat damage, a failed switch, or no response after reset, stop testing and contact a qualified technician. Document the fault and model number for service records.