Shop Vac Hose Size Compatibility Chart: 1-1/4 Vs 2-1/2 Inch at a Glance
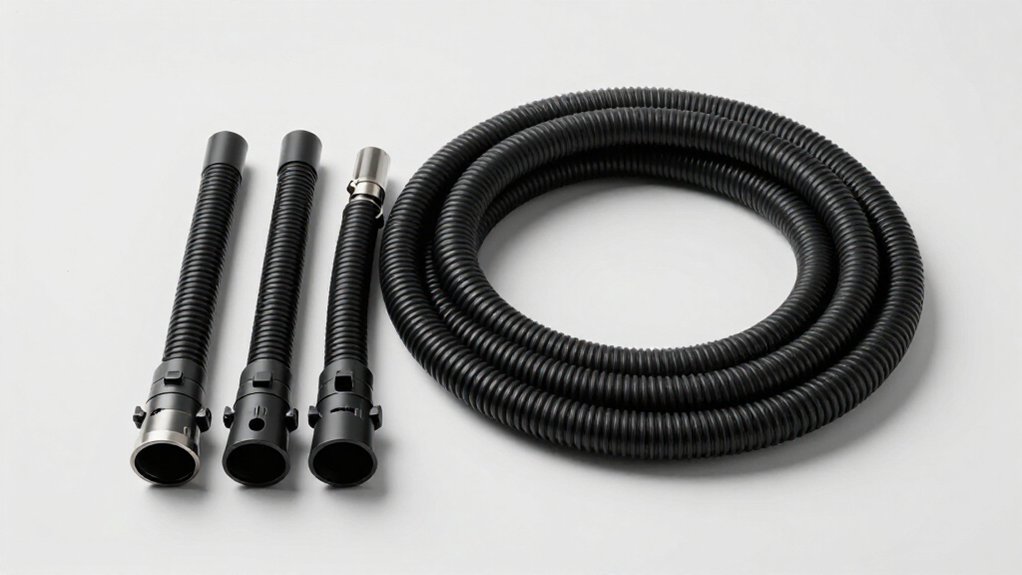
Choose a 1-1/4-inch hose for tight spaces, detail cleaning, and small accessories; choose 2-1/2-inch for wood chips, nails, drywall, and fewer clogs. Match nominal size to the tool’s actual port, but verify inside diameter, cuff design, and adapter fit.
A 1-1/4-inch hose is often about 32 mm ID, while its OD exceeds 40 mm. Keep runs near 7–10 feet, avoid sharp bends, and check sealing depth. You’ll find more compatibility details in the chart below.
1-1/4 Vs 2-1/2 Overview
Although both are common shop-vac sizes, a 1-1/4-inch hose and a 2-1/2-inch hose serve different purposes. You get better maneuverability with the smaller hose, which suits tight spaces, handheld nozzles, and light debris. Its narrower passage can maintain higher air velocity at the tool, but it may restrict bulky material and clog sooner.
Choose the larger hose when you need higher debris throughput for wood chips, nails, drywall pieces, or heavy cleanup. Its greater cross-sectional area moves more volume with less clogging risk, although velocity can fall under the same suction power. Your vacuum’s motor, inlet, hose length, and bends still limit actual performance.
Match the hose to the vacuum’s capacity and use high-efficiency filtration for fine dust; diameter alone won’t prevent blow-back.
Diameter Compatibility Chart
Match the hose and accessory by nominal inside diameter (ID), not by the vacuum’s gallon capacity alone. Use the chart to select a direct fit or identify a adapter. You’ll still need to confirm the inlet and accessory specification before ordering.
| Nominal ID | Typical pairing | Practical use |
|---|---|---|
| 1-1/4 in | Small accessories | Detail cleaning |
| 1-1/2 in | Wet/dry accessories | General cleanup |
| 1-7/8 in | Mid-size accessories | Versatile workshop use |
| 2-1/2 in | Full-size accessories | Bulky debris |
| 4 in | Dust-collector ports | Specialized collection |
For a 1-1/4-inch tool, choose a 1-1/4-inch hose; don’t force it onto a 2-1/2-inch line. For large debris, select 2-1/2 inches to reduce clogging. If sizes differ, use a tapered adapter that matches both connections and secures tightly. Check included cuffs on universal hoses, especially for older or proprietary models before you order.
Inner Diameter vs Outer
Why does a hose labeled 1-1/4 inches have an inner diameter near 32 mm but an outer diameter of roughly 40 mm or more? Because the label usually describes the approximate airflow opening, not the complete hose width. A 1-1/4-inch hose commonly measures about 32 mm inside, while its wall, reinforcement, and ribs push the outside diameter to roughly 40 mm or more.
That extra material matters when you select a clamp or adapter: you need the hose’s actual OD, or its specific barb or cuff feature, for a secure grip.
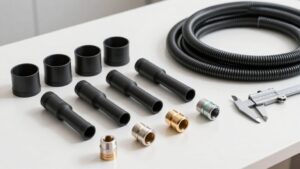
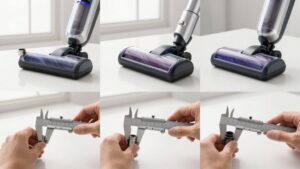
A 2-1/2-inch hose varies: measurements may show an OD near 51 mm or more, but its jacket makes dimensions variable. Measure ID and OD with calipers; match the adapter to that surface directly.
Hose Length Considerations
Choose the shortest hose that reaches your work area, because excessive length increases pressure loss and reduces tool-end suction. Consider storage and handling, as coils, bends, and extension hoses further restrict airflow and complicate movement.
Match length to the task: use shorter runs for fine dust and longer, larger-diameter hoses for general cleanup or extended reach.
Ideal Hose Length
Hose length can affect pickup performance more than the nominal 1-1/4-inch or 2-1/2-inch diameter because friction and bends create pressure drop along the run. Choose the shortest hose that reaches your work area without stretching, sharply bending, or requiring frequent repositioning. For most portable cleanup, a 7- to 10-foot hose offers a practical balance between reach, handling, and manageable resistance.
Use a longer run only when fixed installation or vehicle work justifies it. A 50-foot garage hose measuring about 1.25 inches inside diameter demands careful routing and regular clog checks. By comparison, a typical 10-foot hose with approximately 2.35-inch outside diameter suits larger debris over short distances. Keep the hose straight, minimize coils, and select reinforced, crush-resistant construction when length is unavoidable. Check fitment.
Airflow And Suction
A longer hose and larger diameter can reduce airflow velocity, even when the vacuum’s suction strength remains similar. A 2-1/2-inch hose offers higher CFM and handles bulky debris, but its larger cross-sectional area can weaken pickup of fine dust. Length adds friction and pressure loss, making it harder to maintain the velocity needed to keep particles suspended.
With a long oversized run, debris may settle in the duct instead of reaching the tank.
You’ll want the shortest hose reaching your work area. Match its diameter to the vacuum’s inlet, motor capacity, and task: use 1-1/4-inch for narrow tools and fine dust and 2-1/2-inch for high-volume cleanup. If you split the line, each branch receives part of the suction; tee placement and branch geometry matter.
Storage And Handling
When you’re planning storage and handling, use the shortest length that still reaches your work area. A roughly 10-foot hose is easier to coil, carry, and store than a 50-foot run, while its shorter path generally limits friction losses.
For a 5-by-10-foot table, a built-in hose measuring about 50 feet may offer convenient reach, but its added length can weaken pickup at the nozzle.
Store either 1-1/4-inch or 2-1/2-inch hose loosely in broad coils; don’t fold it into tight loops. Avoid sharp bends, crushing, and heavy kinks during use and storage, because constrictions restrict the passage and reduce effective suction at the far end. Support the hose without pinching its cuffs or connectors, and keep it clean and dry before putting it away.
Extension Hose Effects
Every added foot of extension increases frictional resistance, so the vacuum delivers less suction and airflow at the pickup end. Longer runs also raise total duct resistance, reducing airflow velocity. That can weaken fine-dust capture even when your vacuum has adequate power. Keep extensions as short as practical, and avoid coils or unnecessary bends that add pressure drop.
When you use a 2-1/2-inch hose farther from the tool, its larger cross-sectional area moves more volume but lowers velocity. Keep that extension reasonable to preserve capture velocity.
Avoid step-downs near the tool or shroud; reduced velocity in the main duct can let debris drop or spill in the line.
On long runs, use the largest diameter you can maintain; choose HEPA filtration for fine dust.
Job-Specific Length Choices
For a 5×10-foot table, a roughly 50-foot garage hose can provide more practical reach than a 10-foot shop-vac hose, but its smaller 1.25-inch ID creates greater friction loss and clogging risk. If you’re reaching across the table, that extra length reduces repositioning, but every foot adds resistance. Keep the run direct and limit sharp bends, especially when you’re using narrow nozzles or split connections. A 1.25-inch hose moves air at higher velocity, yet its smaller passage can choke on chips and other bulky debris.
If you’re limited to a 10-foot shop-vac hose, choose the larger 2.0–2.35-inch outside-diameter option for heavy debris. You’ll reposition often, but the wider passage reduces blockage. Match the hose to your vacuum inlet and confirm inside diameter before adding adapters.
Check Cuff Connection Depth
Even if two hoses share the same nominal diameter, their cuffs may differ in insertion depth and won’t seat identically in an adapter. Measure how far the cuff enters the fitting, then compare that travel with the adapter’s shoulder or stop. A 2-1/2-inch-class hose may measure about 2.35 ± 0.15 inches OD (roughly 51–60 mm), so collar depth determines seating. A 1-1/4-inch-class hose has a 1.5-inch OD and 1.25-inch ID; verify its cuff reaches the stop.
Before you print or select an adapter, perform a push-fit test. Confirm seating without rocking or force. If the cuff stops short, adjust the adapter for its travel or choose a taper adapter. Don’t force tight fit; you could crack a mount or dust shoe and compromise the seal.
Airflow Loss Through Step-Downs
A step-down from a 2.5-inch hose to a 1.25- or 1.5-inch connection adds restriction and can reduce total airflow, especially when the reducer is abrupt, undersized, or poorly sealed.
When you shrink the duct area, the same vacuum must pull air through a tighter passage, increasing resistance and often sacrificing flow somewhere else. A smaller opening may raise local velocity, but the system’s overall airflow can fall. In split setups, a 27mm branch may receive only about 22.6% of the suction available through the larger path, weakening capture.
If velocity drops in the main run, fine dust can settle before reaching the collector. Keep the 2.5-inch hose upstream and place the reduction close to the tool when possible. Measure both IDs, seal each joint.
Miter Saw Dust Ports
Because miter saw dust ports vary widely, you’ll need to measure the port’s inside and outside diameters before choosing a hose or adapter. Smaller setups commonly use 1-1/4-inch hose, roughly 32-mm ID and over 40-mm OD, but the saw’s port may be larger.
A 2-1/2-inch port class can handle larger chips and resist clogging better than a 1-1/4-inch hose. However, reducing a port to a narrow hose can lower capture effectiveness if air velocity falls, leaving fine dust around the shroud. Choose the hose class that matches the measured port, or use a properly tapered adapter when sizes differ.
If you’re connecting multiple tools, remember that a tee can divide suction; a smaller branch, often around 27–32-mm, may receive only part of the available flow. Fine dust requires a short, straight hose wherever possible; long runs and sharp bends increase pressure loss and can weaken collection performance. Finally, verify the saw manufacturer’s port dimensions, measure with calipers, and confirm unobstructed airflow during a cutting test before regular operation.
Adapter O-Ring Seating
When you insert the hose, the adapter’s O-ring must compress against the hose’s actual inside or outside diameter, depending on the seal design, not its nominal 1-1/4-inch or 2-1/2-inch label. Check the sealing surface; hose dimensions vary, and nominal labels may not match exactly. The O-ring should enter its groove and compress evenly when the hose reaches full insertion. If it remains loose, air can leak, causing dust blow-back and weaker pickup.
- Measure the hose’s actual OD or ID at the connection with calipers.
- Match that measurement to the adapter’s sealing surface.
- Confirm the O-ring isn’t twisted, cut, flattened, or displaced.
- Push the hose fully home and check for uniform compression.
Don’t force an undersized opening over the ring; you could damage the seal or hose.
Verify Cuff Part Numbers
After confirming the O-ring seats evenly, verify the part number stamped on the Shop-Vac hose cuff, vacuum port, and any adapter or coupler. Don’t rely on “1-1/4” or “2-1/2” labels alone; compatibility depends on the exact cuff model and mating port.
- Record every stamped number before ordering.
- Measure cuff ID and OD with calipers, noting taper, ribs, and flex. Some cuffs measure roughly 2.35 ± 0.15 inches OD, while others measure near 2.0 inches.
- Confirm whether the cuff suits a 1-1/4 system, often near 32 mm ID and 40-plus mm OD, before inserting it into a 2-1/2 mount.
- Match the accessory port’s actual size; “1.5” and “2.5” naming can mislead. If numbers differ, use a dedicated printed taper or friction-fit adapter for a secure seal.
Conclusion
Choose your shop vac hose by measuring the tool port, hose inner diameter, and cuff depth, not by nominal size alone. A 1-1/4-inch hose suits smaller ports and improves maneuverability, while a 2-1/2-inch hose generally carries more airflow.
Before connecting, confirm the adapter’s part number, seat its O-ring fully, and avoid restrictive step-downs when possible. Test the joint for leaks, then verify dust capture at the tool under actual operating conditions in your normal workflow.