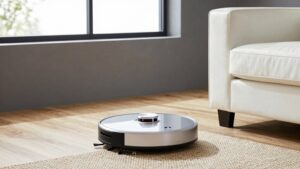
Robot Vacuum Stuck Frequently Troubleshooting
If your robot vacuum gets stuck frequently, first check app error codes and fully recharge the battery to rule out power issues. Inspect and clear brushes, wheels, and sensors of hair and debris. Wipe charging contacts.
Recalibrate or reset maps after big layout changes and test single rooms on clear floors. Move the dock to an open spot; secure loose cables and keep firmware current. If problems persist, gather error logs and contact support for guided diagnostics and repairs.
Quick Overview
- Inspect and remove hair, threads, and debris from brushes, wheels, and axles to restore smooth movement.
- Wipe cliff, bumper, and proximity sensors regularly to prevent false obstacles and unexpected stops.
- Clear the charging dock area, clean contacts, and ensure 1 ft side and 3–4 ft front clearance for reliable returns.
- Check battery charge; run a full recharge and update firmware/app to resolve power and connectivity-related stalls.
- Reset or recalibrate maps after furniture changes. Then test room-by-room in clear, well-lit spaces.
Quick Diagnosis: Battery, App Errors, and Codes
Ever wondered why your robot stops mid-clean or shows a cryptic code? Start with battery diagnostics: check the app’s reported charge and charging status. Then run a full recharge; degraded cells often cause sudden stops and need replacement.
Next, read app error codes precisely: match them to the manufacturer guide to distinguish power faults from motor or sensor faults. If the app shows connectivity failures or dropouts, try a soft reboot of both vacuum and app. Then re-pair the device; transient software glitches often clear with quick resets.
Keep firmware current to prevent recurring communication errors that masquerade as hardware problems. When an app error maps to docking or charging, inspect charging contacts and alignment. But don’t skip verifying the battery first.
Log recurring codes and times they occur. That record helps support or service pinpoint whether you’re facing a battery issue, persistent app error codes, or something needing deeper inspection.
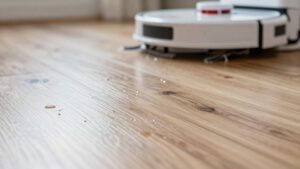
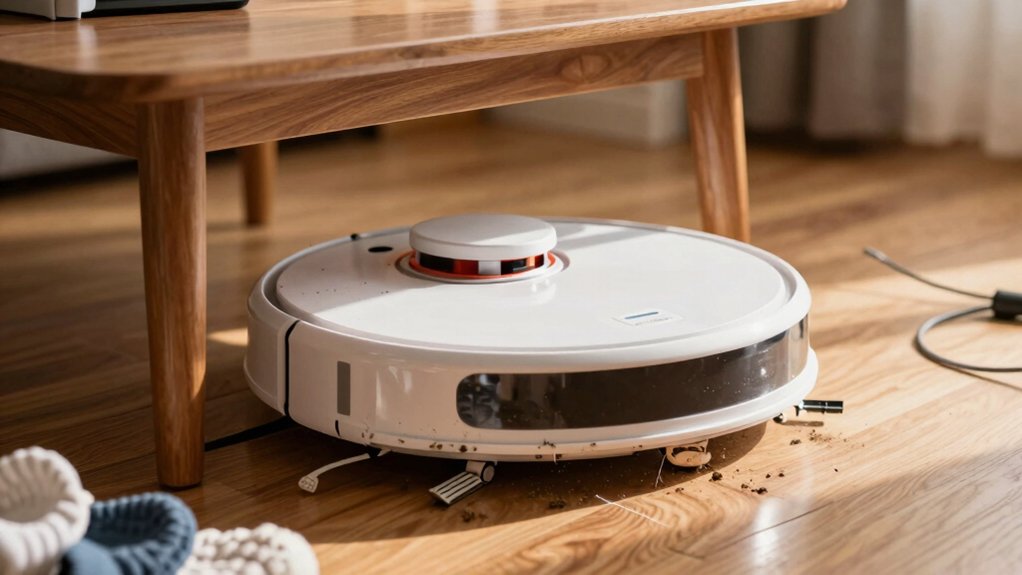
Clear Physical Obstructions: Brushes, Wheels, and Sensors
How often should you check for physical obstructions? Inspect brushes, wheels, and sensors weekly or after heavy shedding. Start with brush maintenance: remove the main and side brushes, cut away hair and threads, and clear the brush housing so rotation stays smooth.
Check wheel axles and casters for wrapped debris that reduces traction or stalls movement. Do sensor cleaning next. Wipe cliff, bumper, and proximity sensors with a soft, dry cloth to avoid dust buildup that causes false stops. Verify the dustbin, filters, and suction inlet are free of clogs so suction-driven movement stays consistent.
Scan around furniture edges for cords, small objects, and loose rugs that can entangle brushes or wheels. After clearing obstructions, place the vacuum in an open area and run a short test cycle to confirm smooth brush rotation and unimpeded wheel movement.
Repeat checks whenever performance degrades or after new obstacles appear.
Want the robot to stop getting lost? Start with mapping recalibration in the app after any major furniture or layout change. Update firmware and the app first so recalibration applies correctly. Outdated software can cause map drift. Clean all sensors—front, side, bumper—and remove any tape or film that could skew obstacle mapping.
If stalls or misrouting persist, perform a full map reset. Delete existing maps, then run a fresh room-by-room mapping sequence to establish accurate boundaries and no-go zones.
Test rooms separately: place the vacuum in an empty, obstacle-free room and observe whether it builds a clean map before expanding to adjacent spaces. That isolates problem areas and reveals sensor blind spots.
During mapping runs, ensure good lighting and clear floors. If the device still struggles, repeat recalibration after addressing sensor or environmental issues. Methodically verify each change by retesting a single room. Then rebuild the complete map only when navigation is reliable.
Prevent Stops: Dock Placement, Cable Management, Battery Care
Got a steady stopping problem? Place the charging dock in an open area with at least 1 foot of clearance on the sides and 3–4 feet in front so the robot can dock smoothly and avoid mid-cycle stops from misalignment. Keep the dock off thick carpets and away from cluttered floors that can block the return path or confuse sensors.
Inspect and clean charging contacts on both dock and robot regularly to ensure reliable recharge; this can prevent abrupt stops caused by docking failures. Manage cables and small objects in the cleaning area. Coil or secure cords and remove toys or loose items that can tangle wheels or brushes and force the robot to halt near the dock or during return.
Practice basic battery care: Avoid full discharges, top up between runs, and use the robot’s continuous clean or auto-return features so it can resume after charging. These steps cut false stops and extend runtime.
Repair or Contact Support: How to Decide and Next Steps
When basic cleaning, resets, and updates don’t stop recurring stalls, it’s time to decide between DIY fixes and professional help. First, check warranty considerations: confirm coverage period and what’s included, since sensor replacements or inspections may be free. Gather essentials for support: model number, recent firmware version, error codes, and a concise log of when stalls occur (e.g., during transitions or while docking).
Contact manufacturer support via official channels for guided remote assistance or to request a technician visit. Report the collected details immediately; that speeds diagnostics and avoids missteps. If support recommends parts or service, compare warranty coverage against quoted repair costs.
Use topics for escalation when issues persist: failed repairs, recurring docking failures, or signs of hardware wear after resets and re-pairs. If the manufacturer can’t resolve it, consider a specialized service for advanced navigation or hardware faults. Prioritize documented estimates and repair timelines before approving work.
Frequently Asked Questions
Can Low-Pile Rugs or Thresholds Cause Frequent Stalling?
Yes, low pile rugs and thresholds can cause frequent stalling. You’ll find small stairs, carpet edges, and abrupt thresholds trip sensors or jam wheels.
Check wheel clearance, lower suction modes, and smooth transitions with ramps or tape. Secure loose rug corners and trim high edges so the vacuum climbs cleanly.
If stalls persist, adjust bumper sensitivity or consult the manual for height limits and obstacle-handling settings.
Does Pet Urine or Sticky Spills Affect Wheel Movement?
Yes, pet urine and sticky spills can gunk wheel bearings and rollers, making wheels slip or seize. You should inspect and clean wheels regularly, using isopropyl alcohol for residue and mild detergent for sticky spills.
Check low pile rugs and thresholds too; softened fibers or raised edges worsen wheel traction. Dry surfaces thoroughly before running the vacuum. Test movement manually after cleaning to ensure free, smooth rotation.
Yes, magnetic strips and virtual walls can interfere with navigation. You’ll find magnetic interference can confuse sensors or magnetic-based wheels; this can cause detours or stalling.
Virtual barrier limits are designed to block areas. However, placing them too close to edges, carpets, or sensors can create blind spots or erratic behavior. Test placement, move strips slightly, and keep barriers clear of brush, chargers, and reflective surfaces to restore reliable routing.
Do Extreme Temperatures (Hot/Cold) Impact Sensor Function?
Yes, extreme temperatures can degrade sensor function. If it’s too cold, condensation or slower electronics can make sensors misread surfaces. If it’s too hot, components may drift or fail.
You should keep the vacuum within the manufacturer’s recommended temperature range. Avoid sudden temperature changes, and let the unit acclimate before use. Clean sensors regularly and store the device in a moderate, dry place to maintain reliable sensor function and navigation.
Is Firmware Beta/Software Preview Causing Instability?
Yes, a firmware beta or software preview can cause instability. You’ll see unexpected behaviors, navigation errors, or sensor misreads if the build isn’t stable.
Roll back to the latest stable release to confirm the cause. Alternatively, enroll in a beta channel only on a test device. Log issues and provide repro steps to the vendor. Keep backups of settings.
Avoid relying on preview builds for daily cleaning tasks.
Conclusion
You’ve worked through the quick checks: battery level, app messages, and error codes. You’ve cleared brushes, wheels, bumpers, and sensors of hair and debris. You’ve inspected for stuck cables and thresholds. You’ve recalibrated or reset maps and run targeted room tests.
To prevent repeats, you’ll place the dock in an open spot; secure loose cords; and keep the battery healthy. If problems persist after these steps, contact the manufacturer or a qualified repair service.