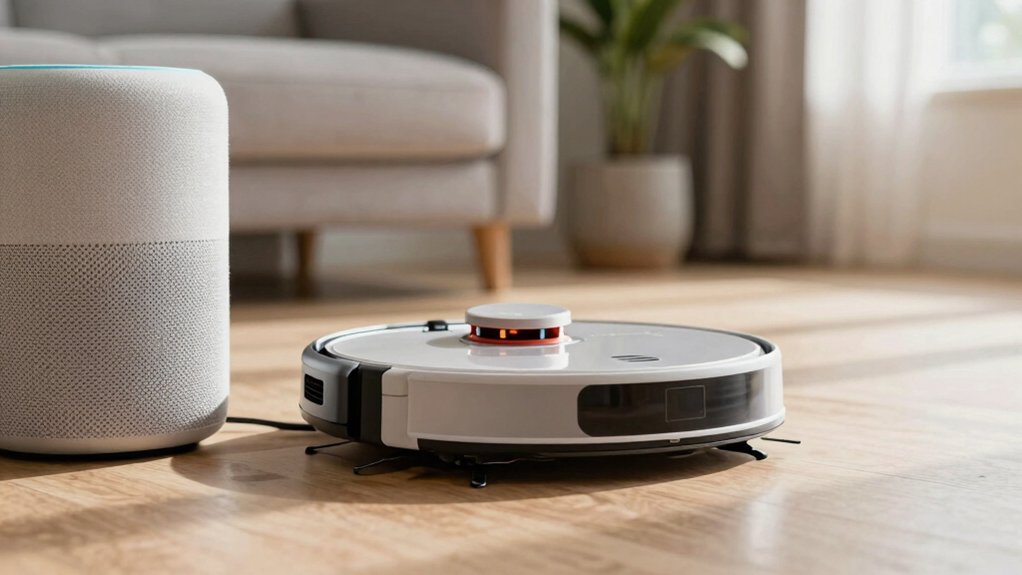
Robot Vacuum Voice Assistant Integration Basics
You’ll get reliable voice control by prepping accounts, Wi‑Fi, and the ECOVACS app, then linking to Google Home or Alexa. Make sure your vacuum is online; enable the manufacturer skill (Alexa) or “Works with Google” pairing, and authorize ECOVACS credentials.
Use a short device name; create named map zones, and restrict sensitive routines. Keep firmware updated, use strong passwords and two‑factor auth, and minimize wireless interference.
Continue for step‑by‑step setup, naming, and security tips.
Quick Overview
- Ensure the DEEBOT is online in the ECOVACS app and your vacuum account is ready before linking to a voice assistant.
- Use strong, unique passwords and enable two-factor authentication on ECOVACS and voice assistant accounts for better security.
- In Google Home or Alexa, link the ECOVACS skill/account; authorize access; then discover and assign the vacuum to a room.
- Rename the vacuum to a short, distinct name. Create named map zones for reliable voice commands and targeted cleaning.
- Reduce Wi-Fi interference; place the router for direct connections; and keep firmware/apps updated to minimize command lag and failures.
Who This Guide Is For and What You’ll Learn
Who should read this guide and what will you learn? If you own or plan to buy a DEEBOT (X2 OMNI, N10/N20, T20 OMNI examples) and want voice control, this guide fits your needs. You’ll see clear audience scope: beginners who’ve never linked devices and intermediate users aiming to build routines.
You’ll learn practical, step‑by‑step actions for Google Home (link ECOVACS, assign rooms, name the vacuum) and Alexa (enable skill, discover devices, rename, create routines). The learning outcomes include running basic commands (start, stop, pause, go home) and issuing advanced commands (clean specific rooms). You will also find quick troubleshooting tips for connection issues.
You’ll get concise guidance for naming conventions and room assignments so voice commands stay reliable. This section sets expectations: hands‑on setup, command examples, and automation ideas that make your DEEBOT responsive to Google Assistant and Alexa without diving into account, device, or network preflight checks.
Preflight Checklist: Accounts, Devices, and Network
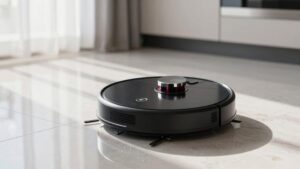
Before you link your DEEBOT to Google Assistant or Alexa, confirm a few account, device, and network basics so setup goes smoothly. Make sure the robot is online in its native app (ECOVACS Home or similar) and you can control it from your phone.
Verify account credentials for the vacuum and the voice platform; you’ll be connecting accounts during authorization. Check network stability: strong Wi‑Fi and minimal interference between router, vacuum, and assistant improve discovery and responsiveness.
Decide on a simple voice name and assign the DEEBOT to the correct home and room in Google Home or Alexa to avoid confusion. For Alexa, enable the manufacturer’s skill and link accounts before device discovery. If discovery fails, confirm the vacuum’s app shows it online and that your phone and assistant are on the same network.
| Item | Action | Why it matters |
|---|---|---|
| App connection | Confirm online in native app | Required for linking accounts |
| Voice platform | Prepare credentials | Enables authorization |
| Network | Check Wi‑Fi strength | Ensures network stability |
Quick: Connect a Robot Vacuum to Google Home
Ready to link your DEEBOT to Google Home? First, confirm the vacuum is online in the ECOVACS Home app. Then, open Google Home, tap + > Set up device > Works with Google, search for ECOVACS, and authorize login to your ECOVACS Home account. That account security step ensures only you control the vacuum.
After successful device linking, pick your DEEBOT model from the compatible auto vacuums list. Assign it to the correct home and room so Google Home maps voice commands accurately. For best recognition, rename the vacuum to a simple label like “vacuum” or the room name in Google Home.
Once set, use concise voice commands such as “Hey Google, start cleaning” or “Hey Google, go home.” Test basic functions right away to confirm responses. If Google Home can’t find the DEEBOT, revisit the ECOVACS app to verify the vacuum’s online status and reauthorize the link.
Quick: Connect a Robot Vacuum to Amazon Alexa
Want to control your robot vacuum with Alexa? Open the Alexa app, go to More > Skills & Games, search for your vacuum’s manufacturer, enable the skill, and link accounts to connect. After linking, tap Discover Devices (or use the Devices tab) to auto-detect and add the vacuum to your smart home.
Rename the vacuum in Alexa settings to a short name like “vacuum” or “robot” for simpler voice commands. Use basic phrases: “Alexa, ask [vacuum name] to start cleaning,” “stop cleaning,” or “go home.” Create Alexa routines to trigger cleaning for rooms or scenes at scheduled times.
Check the skill details for compliance concerns and note any feature gaps compared with the native app. You’ll get hands-free control quickly; however, inspect permissions during linking and test commands. If a function’s missing, use routines or the manufacturer app as a workaround while keeping security and privacy settings tight.
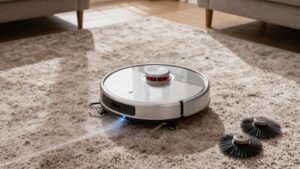
Name Rooms, Create Zones, and Expose Maps for Voice Control
After you’ve linked the vacuum to Alexa or Google Assistant, give your maps some structure so voice commands target the right spots. Draw named zones directly on the map, save precise coordinate arrays, and set a central target position for each zone so go_to_target or clean_zone calls hit consistent locations.
Use clear zone naming; avoid duplicates and prefer descriptive labels like “Living Room Zone” and “Kitchen Zone” so spoken commands are intuitive.
For map exposure, link the map card’s zones to Home Assistant scripts or your vacuum’s services (for example, Xiaomi Mio clean_zone). Expose those scripts to assistants by wiring an input_select that lists zones; map each selection to the corresponding zone script in automation.
When the assistant triggers a selection, the automation sends the saved coordinate array or calls the zone cleaning service. This approach makes voice-initiated zone cleaning reliable and predictable without complex voice-command mappings.
Useful Voice Commands for Google Assistant and Alexa
Curious how to control your robot just by talking? You’ll use concise Google Assistant or Alexa phrases after completing scene setup in the ECOVACS and Google Home/Alexa apps. Link accounts, name the vacuum, assign its room, and keep commands short to minimize voice latency.
- Start or stop: “Hey Google, start cleaning” / “Alexa, ask [vacuum name] to stop cleaning.”
- Pause, resume, dock: “Pause cleaning,” “Resume cleaning,” “Return to dock.”
Room or zone cleaning: “Hey Google, clean the kitchen” or “Alexa, ask [vacuum name] to clean the living room.”
Advanced DEEBOT controls: “Locate the vacuum,” “Label this room,” or “Clean under the coffee table” for targeted areas.
You’ll get most functionality via Google Assistant’s direct commands. Alexa uses skill phrasing (“ask [vacuum name]”). Keep names distinct, test phrasing, and expect small voice latency depending on network and cloud response.
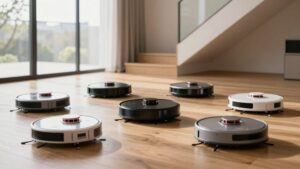
Voice Automations: Schedules, Triggers, and Multi‑Device Routines
When you set up voice automations, you can schedule your DEEBOT to clean, return to dock, or run as part of a multi-device routine without lifting a finger. Create routines in Alexa or Google Home to trigger vacuum scheduling by time (for example, “every Monday at 9 AM”) or events like leaving the house.
Link routines to voice phrases or app buttons so commands run consistently across the ecosystem and show proper status feedback. Use routines to coordinate other devices: turn off lights and AC when the vacuum starts, or have cleaning begin after occupancy sensors detect nobody’s home.
Define room- or zone-specific commands—“clean the kitchen” or “clean living room zone”—to target mapped areas precisely. Leverage Hunches or predictive routines for automatic behavior based on occupancy cues. Test each routine once to confirm synchronization and reliable triggering.
With clear, time-based triggers and well-configured multi-device routines, your DEEBOT will fit seamlessly into daily automations.
Fast Troubleshooting: Connection, Account, and Command Fixes
Routines and schedules make your DEEBOT reliable, but you’ll still run into connection, account, or command issues that stop those automations from working. First, check the ECOVACS Home app to confirm the vacuum is online before troubleshooting voice integration. Weak Wi-Fi or interference often causes detection failures or delays.
Verify signal strength; move the router closer or add a Wi-Fi extender to stabilize sporadic connections. Remove and re-link the DEEBOT in Google Home if you see account linking errors. Re-enter your ECOVACS credentials and re-select the device.
Clear interference by relocating other electronics and ensuring a direct path between the router and vacuum to reduce command lag. Use clear, specific commands (for example, “Hey Google, start cleaning kitchen”) and restart Google Home or the vacuum if a command still fails.
Watch for advertising pitfalls and hardware incompatibilities when buying accessories or extenders. Not all gear plays nicely with smart home devices.
Privacy, Security, and Best Practices
How do you keep your DEEBOT from becoming an entry point for attackers? Use strong, unique passwords and follow authentication best practices: enable two-factor authentication, update firmware and apps, and review linked devices in both ECOVACS and Google Home regularly to spot unfamiliar additions.
Limit voice access by configuring guest mode and muting or restricting sensitive routines so attackers cannot trigger cleaning or expose controls remotely. Create dedicated routines with clear commands and avoid exposing admin functions like factory reset to voice assistants. These steps reduce privacy vulnerabilities and make lateral network attacks harder.
| Action | Where | Why |
|---|---|---|
| Strong, unique passwords | ECOVACS/Google | Prevent credential reuse |
| Two-factor auth | Accounts/apps | Adds second barrier |
| Review linked devices | ECOVACS & Google Home | Detect unauthorized links |
| Firmware/app updates | Robot & router | Apply security fixes |
| Limit voice routines | Google/Alexa | Reduce remote control risks |
Frequently Asked Questions
Can I Use Voice Control Offline Without Cloud Services?
Yes, you can use voice control offline without cloud services. You’ll need a vacuum and voice assistant that support offline control or local network processing, plus a compatible hub or on-device speech model.
Offline control improves privacy considerations because commands don’t leave your home. However, you’ll lose some features like remote access, advanced natural language understanding, and frequent updates.
Plan for local setup, occasional manual updates, and limited voice command complexity.
Will Voice Assistants Read or Store My Home Map Images?
Usually they won’t read images locally, but some assistants may upload map images to cloud servers for processing. You should assume privacy concerns. Check the device’s settings and privacy policy to see if map images are sent off‑device and how long they’re kept.
You can often disable cloud features, opt out, or delete stored maps to limit data retention. Contact support for definite storage and retention details.
Can Multiple Users Have Different Voice Cleaning Preferences?
Yes, you can. You’ll set up multi user voices so each person’s account links to the vacuum and assistant. You’ll create profiles that store personalized cleaning preferences like suction level, no-go zones, and room priorities.
When someone speaks, the assistant recognizes their voice and applies that profile automatically. You’ll manage, edit, or remove profiles in the app; keeping control over permissions and shared schedules.
How Do I Trigger Spot Cleaning From a Smart Speaker Routine?
You tell your smart speaker to trigger the spot clean routine you created, and it starts spot cleaning immediately. In your smart speaker app, create a trigger routine that includes the vacuum’s spot-clean command (often via the vacuum’s skill or integrated device action).
Use the smart speaker trigger as the routine’s activation phrase or event. Test it, and adjust timing or location settings so the vacuum responds reliably to that trigger.
Are Custom Room Names Preserved After Robot Firmware Updates?
Yes, your custom room names are usually preserved after firmware updates. Manufacturers design firmware persistence so custom naming and map data survive updates. However, you should still back up settings when possible.
Occasionally, a major update or factory reset can reset names; therefore, check release notes and keep account/cloud sync enabled. If names disappear, reapply them in the app. Contact support if the issue repeats after subsequent updates.
Conclusion
You’ve now got the essentials to link your robot vacuum to Google Assistant or Alexa. You can also name rooms and zones, build voice routines, and troubleshoot common issues.
Take the preflight steps: accounts, device firmware, and a stable Wi-Fi before you start. Use clear, consistent names for rooms and routines; limit shared access; and review privacy settings.
With those basics and the quick fixes in hand, you’ll keep cleaning automated, reliable, and secure.