Robot Vacuum Scheduling Routines for Busy Households
You can reclaim hours by scheduling quick daily sweeps for the kitchen and entry, a mid-day touchup in high-traffic zones, and a rotating deep clean so each room gets a full pass weekly.
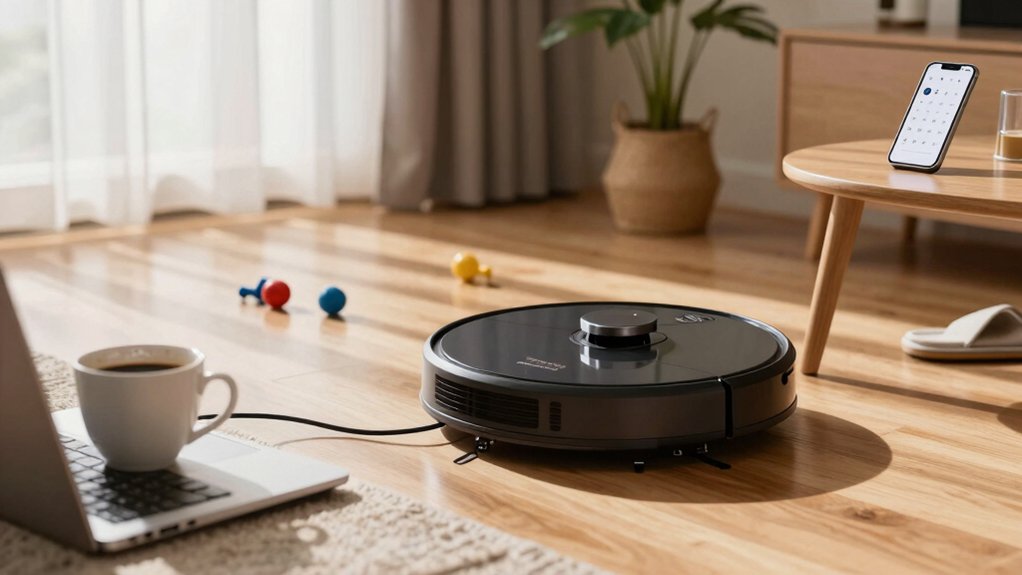
Pick a robot with runtime to cover your floor in one go, adjustable suction, AI mapping, and a self-cleaning mop if you mop. Set room schedules, no-go zones, and guest boosts. Then track missed hotspots for a week to tweak timing; learn how to optimize further.
Quick Overview
- Schedule short 15–20 minute morning sweeps for kitchen and entryways to remove overnight debris before peak activity.
- Use mid-day maintenance runs in high-traffic areas to prevent buildup; reserve full cycles for evenings or low-activity windows.
- Map rooms, set room-by-room schedules, and assign different frequencies (daily kitchen, rotating deep-clean rooms) for targeted coverage.
- Choose runtime and suction settings to finish whole-area passes. Prefer longer runs and higher suction for weekly deep cleans.
- Automate no-go zones, Guest Boost spot-cleans, and maintenance reminders (filters/brushes) to keep performance consistent.
Quick Daily Schedule to Start Today
Want a simple routine that keeps messes from turning into chores? You can set a quick daily loop that prevents dirt from grinding in and cuts dust-bunny formation. Start with a 15–20 minute morning brief focused on the kitchen and entryways: those zones capture most spills and tracked-in mud.
Schedule mid day sweeping in high-traffic areas to catch debris before it migrates; a short run in living rooms and hallways maintains consistent coverage between deeper cleans. Add a nightly quick spot-clean for the dining area and sofa to remove crumbs and pet hair before bedtime.
After each run, do a brief post-clean check: empty the dustbin, wipe sensors, and clear the mop and brushes of debris so performance won’t degrade. This routine distributes effort across the day, reduces heavy cleans, and improves daily air quality. Implement it for a week, track missed hotspots, and tweak times to fit your household patterns.
Pick the Right Robot: Runtime, Suction, and Mop Support
How long should your robot run, how strong should its suction be, and do you need mop automation? You’ll pick a model that fits runtime needs, suction power, and mop features so schedules hit high-traffic zones efficiently. Consider room-by-room plans and separate times for vacuuming and mopping. Some details are subtopic ideas but irrelevant to others.
Choose runtime to cover your floor area in one pass. Longer runs reduce partial cycles.
Match suction to surface: 22,000 Pa (Narwal Flow) handles deep-clean needs; lower power saves battery.
Prefer AI navigation and dual RGB cameras (Freo Z Ultra) when you need precise pathing for tight schedules.
If you want low maintenance between runs, select self-cleaning/self-drying mops (Freo Z Ultra) or FlowWash systems (Narwal Flow).
Use devices that support coordinated schedules so vacuum and mop tasks don’t collide and target high-traffic rooms effectively.
Connect and Map: App Setup, Wi‑Fi, and Room Maps
Once you’ve picked a model and planned runtimes, get the robot talking to your phone and mapping your rooms so schedules actually hit the right spots. Start with app setup: download the manufacturer app from Apple App Store or Google Play, create an account, then choose Set Up Device or Begin Setup. Power the vacuum on near the charger and a stable outlet.
Follow wifi pairing steps in the app; use 2.4 GHz networks to link the robot. The vacuum will confirm with a beep or light. Pairing enables remote control and later scheduling. Run product mapping by launching the clean-and-map routine. Let the robot survey without interruption so room maps are accurate.
After maps finish, define virtual boundaries or no-go zones in the app and name rooms. Use the Schedule tab to assign room-by-room cleaning windows. Accurate mapping reduces overlap and ensures scheduled routines target prioritized spaces efficiently.
Build a Weekly Robot‑Vacuum Schedule: Daily, Deep, and Guest Boosts
Start by mapping weekly runs to real household traffic. Schedule daily quick sweeps for high-traffic zones like the kitchen and living room. Rotate a room-focused deep clean each day to avoid overlap. Slot one full, maximum-power cycle weekly for thorough coverage.
You’ll create a broad schedule that reflects when dirt accumulates and when rooms are used most. Add mid-day maintenance runs in very busy homes to stop grime from settling. Use the app’s room scheduling to assign kitchens, family rooms, bathrooms, and bedrooms to specific days. Set reminders for bin emptying and filter care.
- Daily: 10–20 minute quick sweeps for kitchen and living room
- Mid-day: short maintenance run to reduce tracked-in dirt
- Rotating deep: one room per day to prevent overlap
- Weekly max-power: full-house thorough cycle for edges and under furniture
- Guest Boost: targeted spot-clean 60 minutes before visitors
These efficiency tweaks and proactive reminders keep performance steady. They also contribute to better air quality over time.
Set Room‑By‑Room Rules, No‑Go Zones, and Time‑Of‑Day Modes
While mapping weekly routines, set room-by-room rules in the app so your vacuum targets high-traffic areas more often and skips fragile zones. Use no-go boundaries for pet bowls and breakables, and time-of-day modes to align runs with peak clutter: for example, morning kitchen and evening living room.
Use the Schedule tab to assign days, times, and room targets. Map-based room targeting lets you set different frequencies, such as daily kitchen on weekdays and weekly bedrooms, in one plan. Draw no-go zones around pet dishes, play areas, and delicate furniture to prevent interruptions and reduce error reports.
Configure time of day modes so the robot runs when clutter patterns peak, such as breakfast messes or after evening TV. This improves pickup rates and reduces remaps. Pair rules with automated maintenance reminders for filters and brushes so cleaning quality stays consistent across rooms. Track session logs to refine frequencies; adjust rules when occupancy or routines change to maintain efficient, data-driven coverage without manual intervention.
Automate Vacuuming and Mopping (Mode, Suction, and Sequencing)
Now that you’ve set room rules, no-go zones, and time-of-day modes, automate vacuuming and mopping by creating separate schedules and sequencing tasks so each room gets the right treatment at the right time. You’ll split vacuum and mop runs, assign mode sequencing, and use mop suction settings where supported to match surface and soil levels.
Define high-traffic zones for more frequent, higher-suction vacuuming and weekly deep cleans. Keep quieter rooms on standard mode.
- Schedule vacuum and mop separately to avoid overlapping wet/dry conflicts.
- Use room-by-room sequencing: kitchen and pet areas first, bedrooms last.
- Apply mode sequencing: standard for daily, high for weekly or post-event.
- Set mop suction (or mop intensity) and lower vacuum suction when mopping nearby.
- Leverage maps and virtual barriers to prevent re-cleaning and improve efficiency.
Track repeat patterns (daily/weekly) against missed spots and adjust intervals. Data-driven tweaks will keep coverage high and runtime efficient.
Daily Maintenance and Troubleshooting for Missed Runs and Mapping Errors
Troubleshooting missed runs and mapping errors is usually a quick checklist you can run through before tweaking schedules. First, check the app’s Real-time progress and restart the cleaning session from the Schedule tab to re-run the plan; that fixes many missed runs immediately. Verify the robot’s dock is correctly positioned and fully charged before any scheduled start. Low power or poor docking causes aborted tasks.
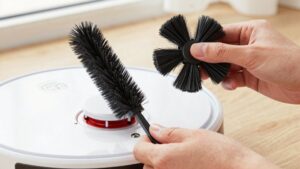
Inspect and clean brushes, sensors, and wheels weekly; debris buildup is a leading cause of mapping errors and navigation failures. After a session, review the map in the app. If rooms look wrong, perform a quick room-by-room re-mapping to update the floor plan. Use virtual barriers or no-go zones to steer the robot away from cluttered or obstacle-dense areas that trigger repeats of missed runs.
These steps reduce false errors, improve map accuracy, and keep your scheduled routines reliable with minimal manual intervention.
Frequently Asked Questions
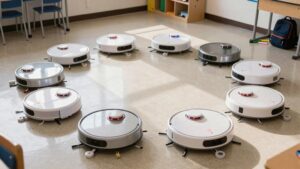
Generally no, you can’t reliably use one charging base for multiple robots or map with them simultaneously. Shared charging works only with compatible models designed for docking together. Most vacuums refuse to record multi vacuum mapping at once.
You’ll get better performance by assigning each robot its own base and separate maps. Alternatively, you can use a coordinated system from the same brand that supports multi vacuum mapping and synchronized scheduling.
How Do Robot Vacuums Handle Pet Accidents or Liquid Spills Safely?
Most robot vacuums avoid pet accidents and liquid spills by detecting wet messes and steering clear or pausing to prevent damage. You’ll get sensors and mopping systems that stop when moisture’s excessive. Additionally, firmware maps “no-go” zones after incidents. Data shows multi-sensor units reduce clogging and motor failure rates.
You should wipe affected areas first and use models with liquid-detection and washable filters for safer, longer-lasting performance.
What Privacy Concerns Come From Map Data Stored in the Cloud?
You risk privacy concerns because map data in the cloud can reveal home layouts, routines, and sensitive locations. You’ll face unauthorized access, insecure storage, and data sharing with third parties or for advertising. That increases targeted intrusion, profiling, or burglary risk.
Demand strong encryption, clear retention policies, user control over maps, and transparent audits. Check vendor practices and opt out or keep maps local when possible to minimize exposure.
Will Scheduled Cleans Disturb Newborns or Sleeping Infants?
Yes, you can avoid disturbing newborns by scheduling cleans outside naps and night sleep. Data shows loudness sensitivity is highest in infants under three months.
Build a consistent bedtime routine and set vacuums to run during awake windows or daytime. Choose models with low decibel ratings labeled infant safe noise; use soft-start modes and enable quiet schedules. Monitor responses and adjust timing to minimize disruption and respect sleep cycles.
How Should I Store Replacement Brushes and Filters for Long Term?
Store replacement brushes and filters in sealed, labeled containers in a cool, dry place to prevent moisture and dust degradation. Use storage rotation: date each item and pull the oldest first to keep parts fresh.
Track a long term inventory with a simple spreadsheet or app listing purchase date, expected lifespan, and replacement interval. Replace filters per manufacturer data; brushes typically last months depending on use and pet hair load.
Conclusion
You’ve got a practical plan: pick a robot with the runtime and suction your home needs, set up app mapping and Wi-Fi, and schedule daily light cleans with weekly deep and guest boosts. Use room rules, no-go zones, and time-of-day modes to keep traffic areas tidy. Automate suction, mop mode, and sequencing for efficiency.
Do quick daily maintenance and troubleshoot missed runs to keep performance high and predictable.