How to Prevent Streaks on Glossy Tile Floors
Use distilled or soft water and a very light dilution of cleaner (about 1/8 cup per gallon) so you don’t leave a soap film. Mist the floor or wring the mop well; never saturate.
Work small sections with long, overlapping strokes. Rinse with clean distilled water, then immediately buff damp areas with a microfiber pad to dry and remove residue.
Refresh solution and launder cloths often. Follow these steps and you’ll stop streaks; more tips on trouble spots and grout follow.
Quick Overview
- Use distilled or soft water and a light cleaner dilution (about 1/8 cup Pine-Sol per gallon) to avoid mineral and soap residue.
- Keep the mop damp, not soaking. Work in small sections with long, continuous strokes to control moisture and drying.
- Rinse each section with clean distilled water after cleaning to remove cleaner film and prevent streaks.
- Buff damp spots immediately with a microfiber cloth or pad to disperse moisture and eliminate film.
- Refresh cleaning solution and launder microfiber cloths frequently to avoid redepositing dirt and soap film.
Quick No‑Streak Cleaning Routine for Glossy Tile
Want streak-free glossy tile fast? Start with a light mist of distilled water mixed with a neutral cleaner: think 1/8 cup Pine-Sol per gallon. Mop with a dry microfiber mop so excess liquid doesn’t sit. You’ll want distilled or soft water in the bucket to avoid water minerals leaving deposits.
Work in small sections: mist, mop, rinse with clean distilled water, then immediately dry and buff with a microfiber cloth to remove residue and equalize sheen.
For textured gloss areas, mop more gently or wipe with a damp cloth. Then dry thoroughly section by section to prevent wet edges and repeat streaks. Refresh your cleaning solution frequently to avoid a dirt film. Use thin applications rather than soaking the floor; that control plus prompt drying delivers uniform gloss and prevents the mineral spotting or streaking that comes from tap water and heavy-handed methods.
Choose Cleaners and Water for Streak‑Free Results
You’ve already slowed the process down and kept applications light. Now pick cleaners and water that won’t undo that work. Choose a low-residue cleaner formulated for glossy tile; you only need a small amount. Overuse of soap or concentrated detergents leaves a film that shows as streaks; therefore, measure precisely and dilute per label directions.
Understand basic cleaning chemistry: surfactants remove soil but can also redeposit if not rinsed. Prefer distilled water for mopping to avoid mineral deposits that cause clouding. Use lukewarm water rather than hot; moderate water temperature improves cleaning without accelerating residue formation or drying too quickly.
After cleaning, rinse with clean distilled water to remove any remaining cleaner film. As you go, buff damp spots with a microfiber pad to disperse moisture and prevent water spots. Dry completely and inspect evenly lit areas for missed residue. A second light rinse beats a heavier initial dose every time.
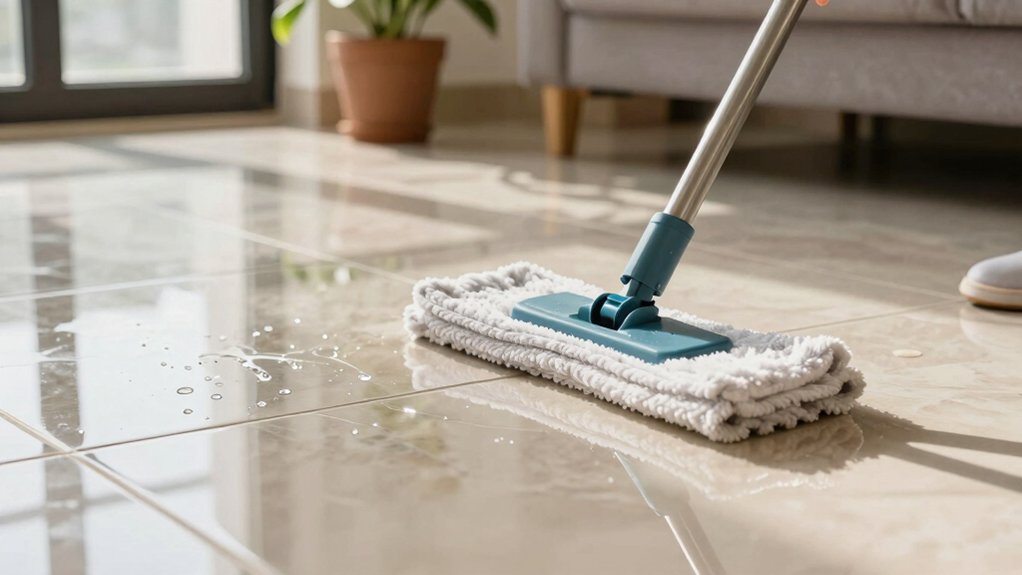
Mop and Dry the Right Way to Avoid Streaks
How should you mop and dry glossy tile to keep it streak-free? Use distilled water and a standard mop to cut mineral deposits. Lightly mist cleaner if needed; never pour or saturate. Apply as a fine spray so the mop keeps the floor damp, not wet.
Adopt a consistent mop technique: push in one direction with light, continuous strokes, overlap each pass, and avoid scrubbing that leaves excess water. Work in small sections so you can follow immediately with the drying method.
After mopping each section, grab a clean microfiber cloth and buff while the surface is still damp to prevent water marks. Move systematically across the room, finishing each tile area before moving on. Replace or launder microfiber cloths when they get dirty to avoid redepositing grime.
This methodical, product-savvy approach: distilled water, controlled cleaner application, steady mop technique, and immediate drying method minimizes streaks and leaves a clear, glossy finish.
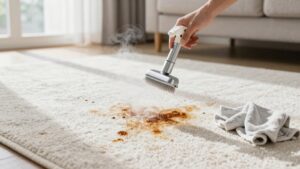
Remove Tough Marks and Sticky Residue Fast
Once the floor’s clean and dry, tackle stubborn scuffs and sticky spots before they set into a film that dulls gloss. You’ll use two word ideas and quick tips to remove residue without creating streaks. First lift loose dirt with a dry-mop or microfiber mop so you don’t grind grit into the surface. Then spot-treat.
- Apply a diluted cleaner (about 1/8 cup Pine-Sol per gallon) to the mark; don’t saturate.
- Rinse the area promptly with clean water and change rinse water often to avoid redepositing residue.
- Immediately dry and buff with a clean microfiber cloth to eliminate water spots.
For textured tiles, wipe lightly with a damp cloth to avoid paste-like buildup. Use a gentle scraper or microfiber pad for adhesive or sticky residue—test a small area first.
Work methodically across the floor so treated zones don’t mix with dirty mop water. This will preserve that glossy finish.
Grout Care That Keeps Glossy Tile Looking New
Proper grout care keeps glossy tile looking new by preventing staining, erosion, and dulling. So seal grout per the manufacturer’s instructions, clean with a neutral cleaner and a microfiber mop, and deep-clean grout lines regularly while changing rinse water frequently to avoid redepositing dirt.
Start with grout sealing after installation or when recommended. A quality penetrating sealer blocks moisture and stains without altering sheen. For routine grout maintenance, use pH-neutral cleaners and a microfiber mop to lift soils without abrading joints.
Avoid acidic, ammonia, or oil-based products that erode grout or leave residue. When you deep-clean, use a small brush and a dedicated rinse bucket; swap water often so dirty water doesn’t darken joints. Protect high-traffic areas with rugs and felt pads on furniture to reduce abrasion and exposed grout.
Inspect grout yearly; reapply sealer per label guidance or whenever water fails to bead. That methodical approach preserves grout color and keeps your glossy tiles reflecting light like new.
If You Still See Streaks: Quick Troubleshooting
Seeing streaks after you clean? Start with calm, targeted streak troubleshooting. First, inspect your water and tools: switch to distilled water and confirm the mop is damp, not soaking. Microfiber heads reduce residue and lift grime without excess liquid.
- Replace water and mop: dump stale solution, refill with distilled, and wring the mop until only damp.
- Work in small sections: clean a focused area, then buff immediately with a clean, dry microfiber cloth to remove remaining moisture and film.
- Cut cleaner concentration: if you used soap-heavy products, rinse with distilled water and repeat the dry pass to eliminate residue.
If streaks persist, recheck water quality checks and mop technique. Dirty water or over-wetting causes most problems. For tough spots, lightly buff with a dry microfiber pad. Consistent technique and clean, minimal solutions will stop streaks and restore glossy tiles quickly.
Frequently Asked Questions
Can Steam Mops Damage Glossy Tile Finishes?
Yes, steam mops can damage glossy tile finishes if you’re not careful. You’ll weigh steam ethics: use steam responsibly. You’ll assess glossy risks; heat and moisture can dull sealants. You’ll ignore cleaning myths: hot steam isn’t always safer.
You’ll test a small area, use low settings, avoid excessive dwell time, and follow manufacturer floor care guidance. With the right technique and products, you’ll minimize risk and keep gloss intact.
How Often Should I Reseal Glossy Tile, if Applicable?
You should reseal glossy tile every 1–3 years depending on traffic and product. High-traffic areas may need re sealing frequency closer to yearly; low-traffic spaces can stretch to three years.
Test by sprinkling water: if it beads, your glossy protection’s fine; if it soaks in, reseal. Use a manufacturer-recommended sealer, apply in thin coats, and follow cure times. Keep maintenance gentle to preserve shine and durability.
Are There Safe Homemade Cleaners for High-Gloss Tile?
Yes, you can use safe homemade cleaners for high-gloss tile. You’ll mix mild ingredients: warm water, a few drops of dish soap, or 1/2 cup white vinegar per gallon for routine glossy tile care. Rinse with clean water to avoid film.
For grease, use diluted ammonia; ventilate. Always test a small area and avoid abrasive scrubs or straight bleach. Dry with a microfiber mop to preserve shine and prevent streaks.
Can Sunlight Cause Streaks or Discoloration Over Time?
Yes, sunlight can cause streaks or discoloration over time. You’ll see sunlight aging when UV and heat gradually break down tile surface finishes and grout sealants. This causes color fade or uneven gloss. You’ll want UV-blocking window film, area rugs, or rotating furniture to limit exposure.
Use UV-resistant sealers and mild cleaners to preserve coatings. Inspect periodically so you can re-seal or replace affected grout or tiles before damage worsens.
What Footwear or Furniture Pads Prevent New Streaks and Scratches?
Choose soft-soled footwear and avoid hard heels or tracked-in grit. Barefoot, socks, rubber-soled shoes, and clean indoor slippers minimize new streaks and scratches.
Fit furniture legs with felt or wool furniture pads rated for tile; or use silicone or neoprene caps where moisture’s an issue. Replace pads regularly and check for trapped grit. For heavy pieces, use wide pads or gliders to spread load and prevent concentrated wear.
Conclusion
Keep a simple, consistent routine and glossy tile will stay streak-free. Use filtered or distilled water and a pH-neutral cleaner or a diluted vinegar solution for sealed tiles; avoid oily or waxy products. Mop with a microfiber flat mop, rinse when dirty, then dry immediately with a clean microfiber cloth or squeegee.
Tackle scuffs with a gentle scrub pad and attend to grout with a brush and grout cleaner. If streaks persist, change cloths, water, or cleaner until you isolate the cause.